Beginner's Guide to Air Fryers: How to Get Started Easily

Welcome to the exciting world of air frying! If you've recently unboxed your first air fryer, received one as a gift, or are simply thinking about getting one, you might be wondering what all the hype is truly about and how to even begin using this seemingly magical appliance. Don't worry, air frying is surprisingly simple and incredibly rewarding, and this guide is designed to walk you through everything you need to know to get started confidently and cook your first delicious meals with ease.
What Exactly IS an Air Fryer? (Simplified)
At its core, an air fryer is a powerful countertop appliance that cooks food using super-heated, rapidly circulating air. Think of it less like a fryer and more like a super-charged, compact convection oven. A heating element (usually located near the fan) quickly heats the air inside a small cooking chamber, and a high-speed fan blows that hot air all around your food, which is typically placed in a perforated basket or on a tray. This intense, rapid air movement is what cooks the food quickly and, crucially, creates a crispy, browned layer on the outside by rapidly drying the surface, effectively mimicking some of the results of deep frying, but with significantly less added oil – a key difference highlighted in our Air Fryer vs. Deep Fryer comparison.
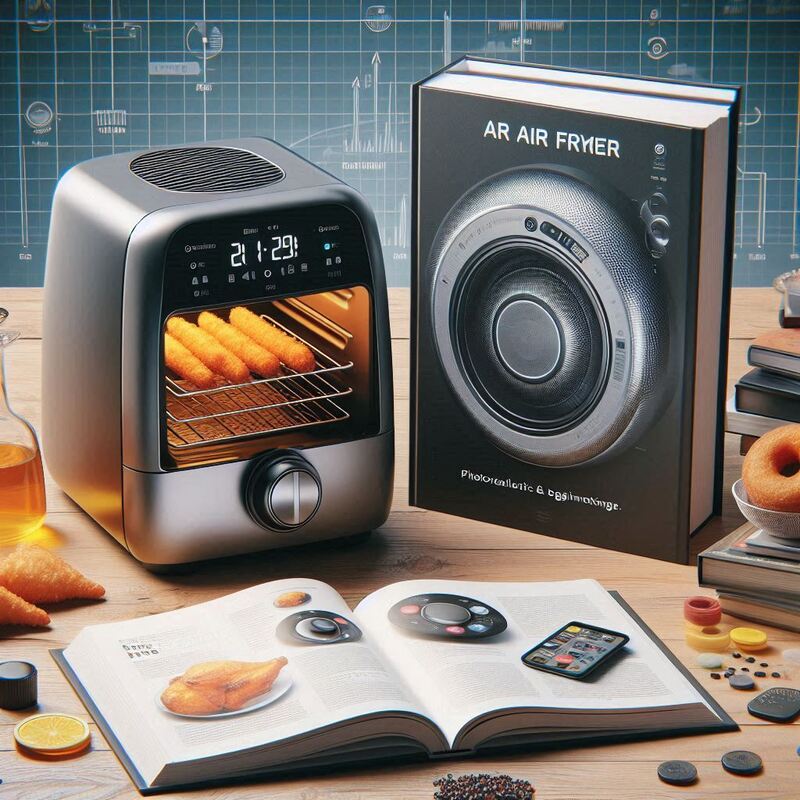
Air fryers come in a few main configurations: the most common basket-style with a pull-out drawer, and oven-style units that look more like a toaster oven but have a powerful air fry function. Our comprehensive Air Fryer Buying Guide covers the different types in detail.
Why Beginners (& Everyone Else) Love Air Fryers (The Benefits!)
The popularity of air fryers stems from several practical benefits that make cooking easier and more enjoyable:
- Incredible Speed: They preheat in just 2-5 minutes and cook food much faster than a traditional oven due to the concentrated heat and powerful fan.
- Healthier "Frying": Achieve satisfying crispy results on many foods using just a fraction (often 70-80% less) of the oil needed for deep frying, leading to significantly lower-fat and lower-calorie meals (learn more about if air fryers are healthy).
- Easy Cleanup: For most common cooking tasks, cleanup is often quicker and simpler than washing multiple greasy pans or dealing with a deep fryer (see detailed cleaning tips).
- Champion Reheating: Air fryers are unparalleled at reheating leftovers that were originally crispy (like pizza slices, fried chicken, spring rolls, french fries) to crispy perfection, unlike a microwave which makes them soggy (see comparison).
- Simple Controls: Most models, especially beginner-friendly ones, have straightforward digital or analog controls for setting temperature and time, making them easy to learn and operate quickly.
- Versatility: Beyond just air frying, most models can also roast, bake small items, broil, and reheat, expanding your cooking possibilities.
Getting Started: Your Very First Steps with Your New Air Fryer
Ready to cook? Follow these initial steps when you get your air fryer home:
- Unpack and Wash Removable Parts: Carefully remove all packaging materials, stickers, and protective inserts from the unit and all accessories. Wash the basket, tray, and any other removable parts with warm, soapy water. Rinse thoroughly and dry completely with a soft cloth or paper towel.
- Read Your User Manual: While this guide provides general information, quickly review your specific air fryer's user manual. It will provide model-specific instructions, important safety warnings, detailed diagrams, and often suggested cooking times and temperatures for common foods unique to your unit.
- Perform the "Burn-Off" Run (Recommended): Many manufacturers recommend running the air fryer empty for about 10-15 minutes at a medium-high temperature (e.g., 350°F to 400°F / 175°C to 200°C) before cooking food for the first time. This process helps to burn off any manufacturing residues, oils, or odors from the heating element and internal components. It might produce a slight plastic-y or chemical smell and possibly some light smoke, which is normal for the first few uses. Ensure good ventilation during this initial run.
- Find a Suitable Spot: Place your air fryer on a stable, heat-resistant countertop or surface. Ensure there is adequate clearance space (usually at least 6 inches on the sides and back, and overhead) for the air fryer's vents to expel hot air safely. Avoid placing it directly under cabinets if possible, especially while cooking fatty foods that might produce steam or smoke.
Basic Operation: Mastering Time, Temperature, and Airflow
Air frying is a straightforward cooking process involving setting the correct temperature and time, and ensuring proper airflow. Here's the simple workflow you'll use for most dishes:
- Prep Your Food: Wash and dry your food. Cut food into uniform pieces if needed to ensure even cooking. **Crucially, pat food very dry** with paper towels if you want to achieve crispiness – excess moisture creates steam which prevents browning. Lightly toss or spray food with a little oil if desired (helps with browning, crisping, and flavor).
- Preheat Your Air Fryer: Always preheat your air fryer for best results! This takes just 2-5 minutes depending on the model and temperature. Set the desired cooking temperature (usually between 300°F and 400°F, or 150°C to 200°C for most savory foods) and let the empty air fryer run for a few minutes until it reaches temperature.
- Place Food in Basket: Open the air fryer drawer and carefully place your prepared food in the air fryer basket or on the tray/rack. **Do NOT overcrowd the basket or tray.** This is critical! Food needs space for hot air to circulate freely around each piece. Piling food up will lead to steaming and soggy results. Cook in smaller batches if necessary. (See tip on overcrowding).
- Set Time & Temp: Close the basket or door. Set the correct cooking temperature and time using the controls. Refer to a reliable recipe or our Air Fryer Cooking Times Chart for recommended starting points.
- Shake or Flip Midway: For most foods, especially smaller items like french fries or chicken wings, midway through the cooking time, open the basket (most models automatically pause), give it a good shake to redistribute the food, or use silicone-tipped tongs to flip items over. Close the basket, and the air fryer will typically resume cooking automatically. This step is essential for ensuring all sides of the food are exposed to the hot air and crisp evenly (see tip on shaking).
- Check for Doneness: Towards the end of the cooking time, open the basket and check your food. Use an instant-read meat thermometer for proteins (see tip on thermometers) to ensure they are cooked to a safe internal temperature (165°F for chicken, 145°F for pork/fish). Check vegetables for tenderness and desired crispness. Air fryers cook fast, so it's better to check a minute or two early and add more time if needed than to overcook!
With a few practice runs, this process will become second nature!
Your First Simple Air Fryer Recipes to Try
To build confidence, start with foods that are almost guaranteed to turn out great in an air fryer. These are some of the easiest and most rewarding items for beginners:
- Frozen French Fries, Tater Tots, or Chicken Nuggets: These are practically designed for air fryers and require minimal effort. Just follow the package directions but check frequently as air fryers cook faster than ovens. Our Best Air Fryer Frozen Foods guide provides specific times.
- Simple Air Fryer Chicken Breast: A quick and healthy way to get juicy, perfectly cooked chicken breast with minimal oil. Great for slicing onto salads or serving with a side.
- Basic Air Fryer Roasted Vegetables: Simple vegetables like broccoli florets, bell pepper chunks, or zucchini slices tossed with a little oil and seasoning crisp up beautifully in the air fryer and make a fast side dish.
- Simple Snacks & Appetizers: Try air frying frozen items like mozzarella sticks or spring rolls, or making simple crispy chickpeas.
- Air Fryer French Fries from Frozen: Master the crispy fry!
Check out our full All Air Fryer Recipes section for more ideas as you get comfortable and want to explore different types of dishes!
Common Beginner Mistakes (And How to Easily Avoid Them!)
Don't get discouraged if your first attempt isn't perfect. Most common air frying issues are easy to fix:
- Mistake: Overcrowding the Basket. Result: Steamed, not crispy, food.
Solution: Always cook in a single layer or loose pile. Cook in smaller batches even if it takes slightly longer overall. - Mistake: Not Patting Food Dry. Result: Food steams and doesn't get crispy.
Solution: Pat proteins and vegetables very dry with paper towels before adding any oil or seasoning. - Mistake: Skipping Preheat. Result: Longer cook times, uneven cooking, less effective crisping from the start.
Solution: Always preheat your air fryer for 2-5 minutes before adding food. - Mistake: Forgetting to Shake or Flip. Result: Food is only crispy on one side, unevenly cooked.
Solution: Remember to shake the basket or flip the food halfway through the cooking time. - Mistake: Using Wet Batters Directly. Result: Batter drips through the basket and makes a mess, doesn't crisp properly.
Solution: Unless the food is first coated in flour, breadcrumbs, or a thick, sticky coating, avoid cooking very wet batters. - Mistake: Not Using Enough Oil (or Using Too Much). Result: Too little oil leads to dry spots or less browning; too much makes food greasy instead of crispy.
Solution: Use just enough oil (often 1 tsp to 1 tbsp) to lightly coat the food's surface. A spray bottle or mister works well. - Mistake: Not Cleaning Regularly. Result: Buildup of grease and food particles causes smoking and affects flavor.
Solution: Clean your air fryer basket and tray after every use. Our Air Fryer Troubleshooting guide covers how to deal with smoking.
Most issues are easily fixed with a few simple adjustments and attention to basic air frying techniques found in our more comprehensive Air Fryer Tips for Success guide.
Basic Air Fryer Care & Cleaning
Keeping your air fryer clean is important for performance and longevity. It's usually quite simple:
- Always unplug your air fryer and allow it to cool completely before cleaning.
- Wash the basket and tray/crisper plate after each use with warm water and a small amount of dish soap. Use a non-abrasive sponge or brush to avoid damaging the non-stick coating.
- For stubborn stuck-on food, let the basket and tray soak in warm, soapy water for 10-15 minutes.
- Rinse and dry the basket and tray thoroughly before putting them back in the unit.
- Periodically (depending on how often you use it and what you cook), wipe down the interior cavity and gently clean any residue off the heating element (once completely cooled!) with a non-abrasive tool.
- Wipe down the exterior unit with a damp cloth.
Many parts might be dishwasher safe, but check your manual. Hand washing often helps preserve the non-stick coating. Follow our detailed How to Clean Your Air Fryer guide for complete instructions.
Conclusion: Air Frying Made Simple for Beginners!
Getting started with an air fryer is easier than you might think! It's a powerful, convenient tool that can make your weeknight cooking faster, your meals healthier (especially compared to deep frying), and your food deliciously crispy. Take it one step at a time, start with simple recipes like those suggested here, experiment with different foods, and don't be afraid to check your food as it cooks. By following these basic principles, you'll be air frying like a pro and enjoying all the benefits of this versatile appliance in no time!
