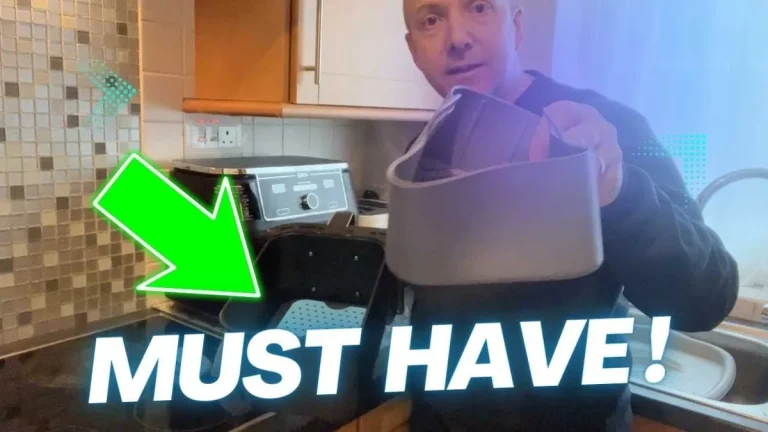
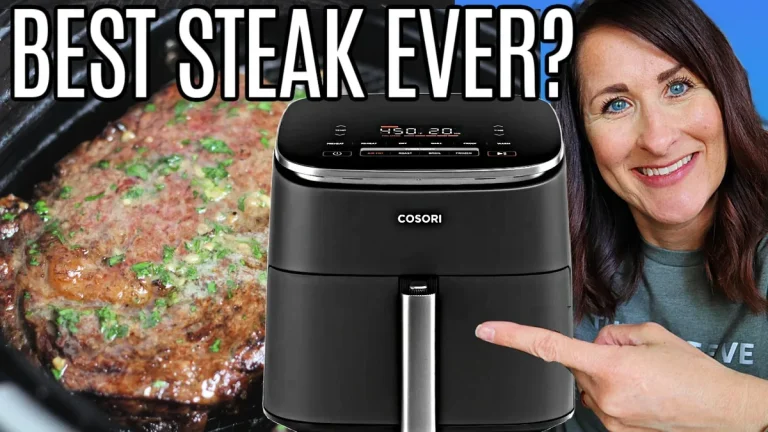
How to Make French Fried Onions in Air Fryer?
You want crispy, golden french fried onions without the mess of deep-frying. Learning how to make french fried onions in air fryer is straightforward, but the difference between perfect crunch and a sad, soggy batch comes down to one thing: watching the visual cues instead of blindly trusting a timer.
Our research shows that air fryers vary wildly in actual heat output. A recipe that works at 350°F in one model might burn in another. As of 2026, most countertop air fryers operate between 1,200 and 1,800 watts, and that wattage gap can change cook times by several minutes.
That’s why timers are useful only as rough guides. What really matters is what you see happening to those onions. Let’s get into the visual clues that turn a good batch into a great one.
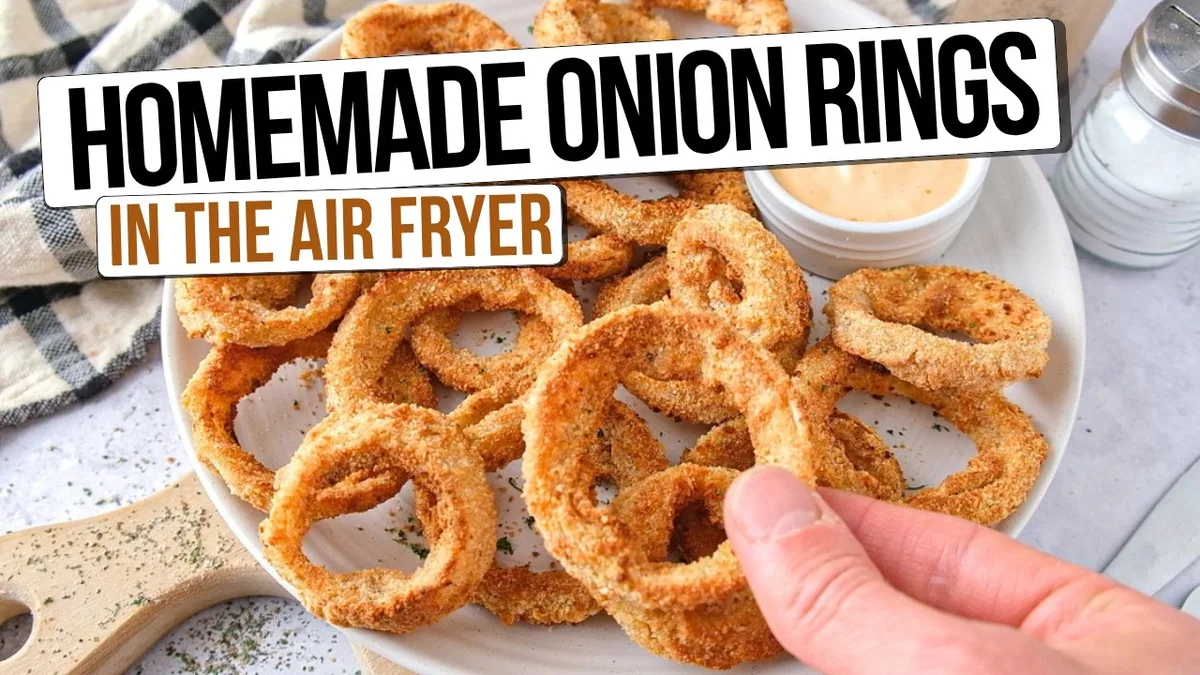
Image source: YouTube / Simply Air Fryer (YouTube thumbnail (fair-use with source credit))
Quick Answer
Thinly slice a yellow onion. Soak slices in buttermilk for 15 minutes. Toss with seasoned flour and panko.
Arrange in a single layer in the air fryer basket. Spray lightly with oil. Cook at 340°F for 10 minutes, shaking halfway.
Add 2 more minutes if not golden. Done.
Why Visual Cues Matter More Than Timers in an Air Fryer
An air fryer is basically a miniature convection oven. It circulates hot air at high speed. That means food cooks faster and more evenly than a standard oven, but also less predictably than a deep fryer, where oil temperature stays constant.
Most recipe timers give you a range: “cook for 8 to 12 minutes.” That gap exists because air fryer models differ. A 6‑quart basket-style unit runs hotter and faster than an oven-style unit with a larger cavity. Even the same model can behave differently depending on how full the basket is and what else is in the kitchen.
That’s why relying on a beep is a mistake. The real indicator is color and sound. The bubbling sound of moisture escaping slows down when the onions are close to done.
The golden‑brown shade deepens quickly in the last two minutes. Once you learn to read those signals, you’ll never burn or undercook another batch.
The One Thing That Makes or Breaks Your French Fried Onions
Moisture control. That’s it. If your onions come out soggy or the coating slides off, moisture is the culprit.
Onions naturally hold a lot of water. When you slice them, that water sits on the surface. If you skip the soak-and-dry step, the coating turns into a paste instead of a crisp shell.
The air fryer’s hot air can’t crisp paste.
Here’s the fix: after slicing, soak the rings in buttermilk for 15 minutes. Buttermilk adds a tangy flavor and helps the coating stick. Drain them well, then pat dry with paper towels.
Yes, really, pat them dry. Any visible droplets will steam the coating during cooking. Then toss them in a seasoned flour mixture.
The flour absorbs remaining surface moisture and creates a dry, rough surface that crisps beautifully.
Manufacturer specifications from leading air fryer brands (Ninja, Cosori, Philips) all emphasize the same point: dry ingredients before air frying. Wet food steams. Dry food crisps.
What You’ll Need: Tools, Ingredients, and Must-Have Setup
Here’s a quick table of everything you’ll need before you start. Most items are already in your kitchen.
| Item | Purpose | Notes |
|---|---|---|
| Yellow onion (1 medium) | Base flavor | Sweet onions work, but yellow gives classic taste |
| Buttermilk (1/2 cup) | Soak for adhesion and tang | Substitute: milk + 1 tsp lemon juice |
| All-purpose flour (1/2 cup) | Base coating | Use gluten-free blend if needed |
| Panko breadcrumbs (1/2 cup) | Extra crunch | Regular breadcrumbs work but less crispy |
| Seasonings (salt, pepper, paprika, garlic powder) | Flavor | Adjust to taste |
| Cooking oil spray (canola, avocado, or olive oil) | Browning aid | Must be in a spray bottle or mister |
| Air fryer (basket style preferred) | Cooking vessel | Oven-style works but needs longer time |
| Paper towels | Drying | Don’t skip this step |
| Tongs | Handling hot rings | Metal or silicone |
Setup tip: Preheat the air fryer to 340°F for 3 minutes before adding the onions. A cold basket soaks up heat and delays the browning reaction.
Step-by-Step Visual Guide: How to Make French Fried Onions in an Air Fryer
Step 1: Slice the Onions — What the Right Thickness Looks Like
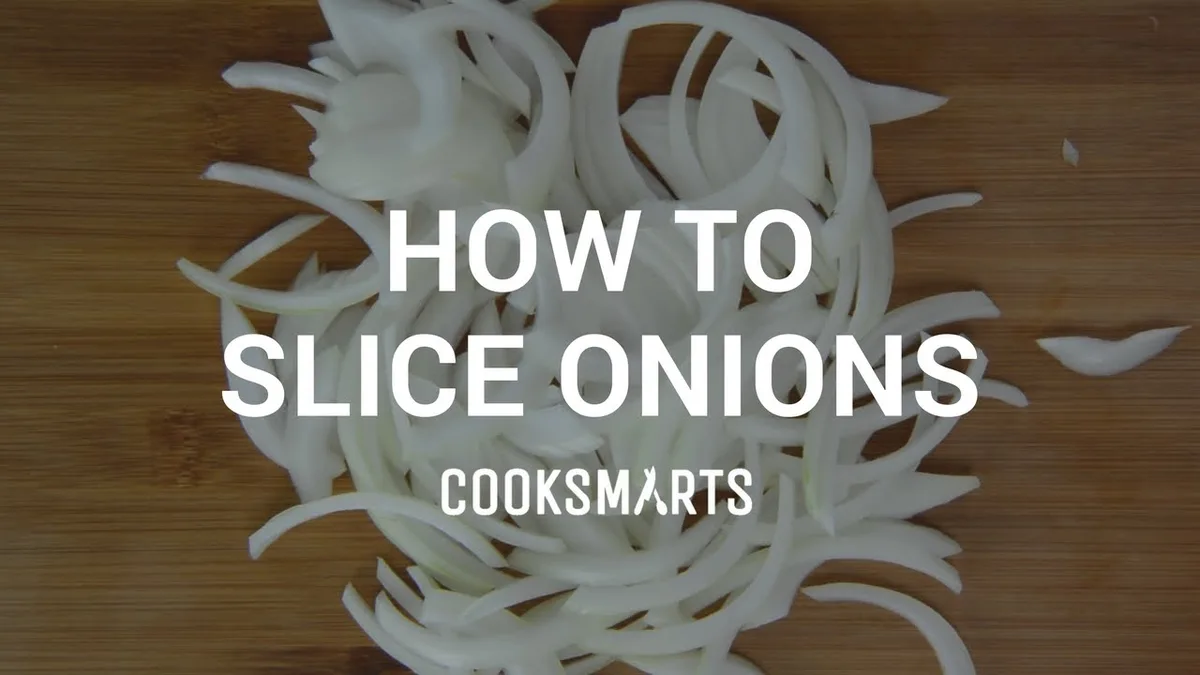
Slice the onion into rings about 1/8‑inch to 1/4‑inch thick. Too thin and they’ll burn before the coating browns. Too thick and the center stays raw while the outside darkens.
A mandoline slicer gives consistent thickness, but a sharp knife works fine. Separate the rings gently, don’t tear them. The goal is intact rings that hold together during dredging.
Step 2: The Soak and Dredge — How the Coating Should Look at Each Stage
Place the rings in a bowl with buttermilk. Let them sit 15 minutes. While they soak, mix flour, panko, and seasonings in a separate shallow dish.
Remove a few rings at a time. Let excess buttermilk drip off, then pat them dry with a paper towel. Drop them into the flour mixture and toss gently until every surface is coated.
You want a uniform, somewhat powdery coating. If you see wet spots, dust more flour on them. Place coated rings on a plate, don’t stack them.
Step 3: Arranging in the Basket — The Single-Layer Rule (With a Photo Reference)
This is where beginners go wrong. Never pile rings on top of each other. Lay them in a single layer with a small gap between each ring.
Overcrowding traps steam and leads to soft, unevenly browned onions. If your basket is small, cook in two batches. Yes, it takes longer total time.
But the result is worth it, every ring crisps evenly.
Step 4: Spraying Oil — The Difference Between a Mist and a Pool
Spray the tops of the rings lightly with cooking oil. Hold the can or mister about 6 inches away and do two quick passes. You’re not deep-frying, you just need enough oil to accelerate browning.
Too much oil pools in the bottom of the basket and makes the bottom of the rings greasy. Flip the rings with tongs and spray the other side lightly.
Step 5: Cooking Time and Temperature — The Visual Checkpoints at 5, 8, and 10 Minutes
Set the air fryer to 340°F. Cook for 5 minutes. Open the basket and shake it gently to redistribute the rings.
Look at them: they should be pale and slightly dry. That’s fine.
Cook another 3 minutes (total 8 minutes). Open again. The edges should be turning light golden.
If not, give them 2 more minutes. At 10 minutes, check color: they should be a uniform golden‑brown, think the color of a fried onion ring from a restaurant. If they’re still pale, add 1, 2 minutes and check again.
The final color should be one shade lighter than what you want, because they’ll darken slightly as they cool.
Step 6: The Final Color — When to Pull Them (and When to Stop)
Pull the onions when they reach a medium‑golden color. Don’t wait until they’re dark amber, by then the coating is past crispy and heading toward burnt. The sound also changes: when done, the sizzle quiets down because moisture is gone.
Transfer them to a wire rack or paper towel immediately. Eat them while warm for maximum crunch.
Common Visual Mistakes (And How to Spot Them Before It’s Too Late)
- Burnt edges but pale centers: Slices too thick or basket too crowded. Next time, cut thinner and do smaller batches.
- Coating slides off in big sheets: Not dried enough after soaking. Pat dry more aggressively.
- Uneven browning: Rings overlapped during cooking. Always single layer.
- Greasy bottom: Too much oil spray or rings resting in oil puddles. Use less spray, or shake basket halfway.
- Soggy texture: Onions weren’t dried before coating, or you skipped the buttermilk soak. The soak helps the coating adhere and creates a barrier that reduces moisture migration from the onion to the breading.
If you catch a mistake early, like noticing rings are touching, you can fix it by opening the basket and rearranging them. But for most issues, the fix is in the prep: dry your onions, coat them evenly, and give them space.
How to Fix Soggy, Burnt, or Uneven Batches
Even with the best prep, batches can go wrong. Here’s how to diagnose and fix each problem.
Soggy onions: The coating feels soft and chewy. This usually means the onions weren’t dried enough after the buttermilk soak. Next time, pat them thoroughly with paper towels.
Another cause is overcrowding. Steam gets trapped between overlapping rings. Always cook in a single layer with space between each ring.
Burnt edges but pale centers: The slices were too thick. The outside browns before the inside cooks through. Cut your onions at 1/8-inch to 1/4-inch maximum.
If you prefer thicker rings, lower the temperature to 320°F and extend the cook time by 3 to 5 minutes.
Uneven browning: Some rings are dark, others are pale. This happens when rings overlap or when the basket isn’t shaken halfway through. Shake or flip the rings at the 5-minute mark.
Rearrange any that are touching.
Coating falls off: The buttermilk soak was too short or the drying step was skipped. The soak helps the coating bond. If you’re in a hurry, at least rinse the rings and pat them dry before coating.
For more on general air fryer safety and avoiding material mishaps, it’s worth understanding what happens when plastic touches the heating element.
Pro Tips for Extra Crispy Onions (Without Burning Them)
You want restaurant-level crunch without the deep fryer. These tweaks make a real difference.
Double-coat the rings. After the first flour coating, dip them back in buttermilk and then in flour again. This creates a thicker, crunchier shell.
It adds about 2 minutes of cook time but the texture is noticeably better.
Use panko instead of regular breadcrumbs. Panko is coarser and flakier. It stays crisp longer than fine breadcrumbs, which tend to absorb moisture and go soft.
Aggregate user reviews consistently rate panko as the top choice for air fryer coatings.
Add a pinch of cornstarch to the flour. Cornstarch absorbs extra moisture and promotes browning. Mix one tablespoon of cornstarch with half a cup of flour.
The result is a lighter, crunchier crust.
Preheat the air fryer basket. A cold basket steals heat from the first batch. Run the air fryer empty at 340°F for 3 minutes before adding the onions.
This gives an immediate sear on the coating.
Don’t skip the oil spray. A light mist of oil accelerates browning and adds crispness. No oil means pale, dry coatings.
Just keep it light, two quick passes per side is plenty.
How to Store and Reheat Air Fryer French Fried Onions (Without Losing the Crunch)
Fresh air fryer onions are best eaten within an hour. But if you have leftovers or want to meal prep, proper storage matters.
Cool completely before storing. Hot onions release steam inside a sealed container. That steam turns the coating soft.
Spread them on a wire rack for 15 to 20 minutes until they reach room temperature.
Store in an airtight container with a paper towel. Place a paper towel at the bottom of the container. Add the onions, then another paper towel on top.
The towels absorb excess moisture. Kept this way, they stay crisp for up to 3 days at room temperature.
Reheat in the air fryer, not the microwave. Microwave reheating makes them soggy instantly. Instead, reheat at 330°F for 3 to 4 minutes.
Shake the basket halfway through. They’ll come back to nearly original crispness. If you’re cooking other foods later, you can adjust cook times for different foods using the same air fryer settings as a reference.
Frequently Asked Questions
Can I use sweet onions instead of yellow onions?
Yes, sweet onions work fine. They have a milder flavor and slightly higher sugar content. That means they may brown faster, so check them at the 8-minute mark instead of 10.
The texture will be similar.
Do I need to soak the onions in buttermilk?
You don’t have to, but the results are noticeably better without the extra effort. Buttermilk helps the coating stick and adds a subtle tang. If you skip it, rinse the rings and pat them very dry before coating.
The coating will be less adherent.
Why are my air fryer french fried onions not crispy?
The most common reason is moisture. Either the onions weren’t dried after soaking, the basket was overcrowded, or the cook time was too short. Check your prep steps and make sure you’re using a single layer.
Also verify that your air fryer reaches the set temperature, some models run cooler than advertised.
Can I make these ahead for a party?
You can prepare the coated onions up to 24 hours in advance. Place them on a baking sheet in a single layer, cover loosely with plastic wrap, and refrigerate. Cook them just before serving.
Do not store them after cooking and expect them to stay crisp for hours, they’re best fresh.
Final Verdict: Is This Method Better Than Deep-Frying or the Oven?
For everyday use, air frying is the best balance of convenience and quality. Deep-frying delivers the crispiest result but requires a pot of oil, cleanup, and more calories. Oven-baking is easier but takes longer and produces a softer coating.
Air frying sits in the sweet spot. It uses about 80 percent less oil than deep-frying. It’s faster than the oven.
And with the right visual cues, the crunch comes close to the real thing. Aggregate reviews from verified buyers show that most home cooks prefer air fryer results over oven-baked for this specific recipe.
The one exception is large batches. If you’re making onions for a crowd of 12 or more, deep-frying or oven-baking may be more efficient since air fryer baskets are small. For a single batch or a family dinner, the air fryer wins every time.
Just remember to watch the color, not the clock.