How Do I Bake a Potato in the Air Fryer? Easy Guide
Many home cooks struggle to get the perfect balance of crispy skin and a light, fluffy center when baking potatoes in a standard oven. Air frying solves this problem by using concentrated hot air to draw out surface moisture while rapidly heating the interior.
In our research on convection patterns, this appliance cooks significantly faster than a traditional range. By applying the correct temperature and prep steps, you can achieve steakhouse-quality results in under an hour.
Quick Answer
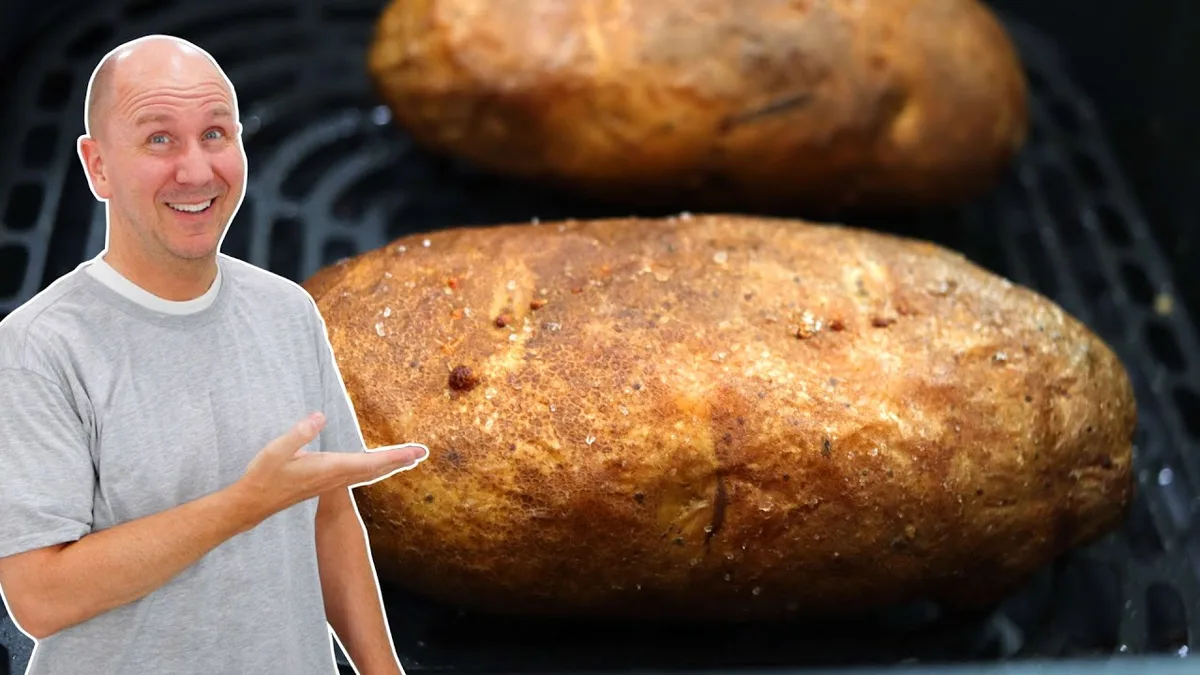
To bake a potato in the air fryer, wash and dry a medium Russet potato. Poke it several times with a fork. Rub the skin with half a teaspoon of cooking oil and kosher salt.
Cook at 400°F (200°C) for 40 to 45 minutes. The center is done when it reaches 205°F (96°C).
The Crispy-Skin, Fluffy-Center Dilemma: Why the Air Fryer Wins
Achieving the perfect baked potato requires balancing two distinct culinary goals. You want a skin that is dry, salty, and exceptionally crisp. At the same time, you need an interior that is light, airy, and fluffy rather than dense or gummy.
In a conventional home oven, achieving this balance often takes over an hour. The large cavity of a standard oven takes a long time to preheat. It also struggles to circulate dry heat fast enough to crisp the skin before the interior overcooks.
An air fryer solves this design limitation through rapid convection technology. The compact chamber and top-mounted fan circulate dry, intense heat directly around the potato. This rapid movement carries away surface moisture instantly, which allows the natural oils to fry the skin.
Meanwhile, the high heat gelatinizes the starches inside the potato. The result is a dramatic texture contrast that traditional baking simply cannot replicate in less time. If you want to build a complete meal using your countertop appliance, you can easily pair your spud with a protein, such as learning how to cook a juicy main dish right alongside your side items.
Understanding Potato Varieties: Russet vs. Yukon Gold vs. Red Potatoes
Choosing the right potato variety is the most critical step in the cooking process. Potatoes are generally classified by their starch-to-moisture ratio. This chemical makeup dictates how the cell structures react to high-heat convection cooking.
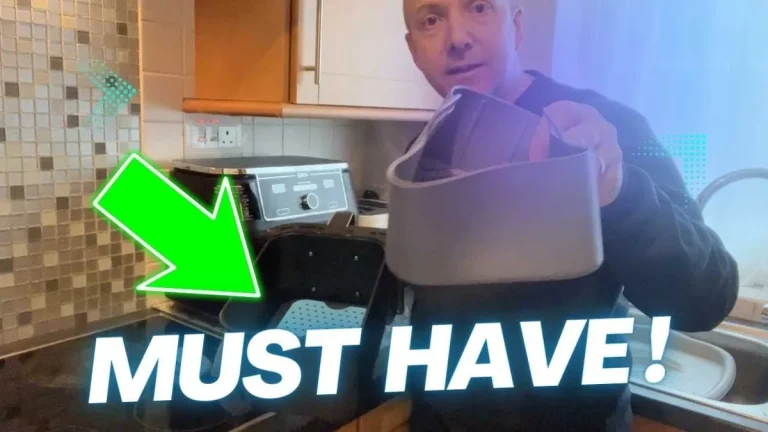
Image source: YouTube / Our Silver Moments (YouTube thumbnail (fair-use with source credit))
Here is how the three most common potato varieties perform in an air fryer:
- Russet Potatoes: These are high-starch, low-moisture potatoes. The starch granules swell and separate when cooked, which creates a dry, puffy, and premium texture. Their thick, brown skins also hold up beautifully to high heat, making them the absolute best choice for air frying.
- Yukon Gold Potatoes: These are medium-starch, medium-moisture potatoes. They have a naturally yellow, buttery flesh. While they will not get as fluffy as Russets, they yield a creamy, dense texture that some people enjoy. Their thin skins crisp up slightly but can easily tear.
- Red Potatoes: These are low-starch, high-moisture waxy potatoes. Their cells stay glued together during the cooking process. If you air fry a whole red potato, the interior will turn out wet, dense, and heavy rather than fluffy.
According to agricultural guidelines from the Idaho Potato Commission, Russet varieties like the Burbank or Norkotah deliver the highest solids content. This high solid content is what guarantees that classic, pillowy interior after high-heat air frying.
Why Foil is the Enemy of Crispy Potato Skin
There is a common belief that wrapping a baked potato in aluminum foil is a mandatory prep step. While foil protects potatoes from burning in direct campfire coals, it ruins the texture in an air fryer.
Foil acts as an impermeable barrier. As the potato heats up, its internal water turns to steam. If the potato is wrapped in foil, that steam cannot escape into the air fryer basket.
Instead, it gets trapped against the skin, essentially boiling and steaming the potato.
[Wrapped in Foil]   --> Traps Steam --> Soggy, Papery Skin + Wet, Gummy Interior
[No Foil (Bare)]     --> Releases Steam --> Ultra-Crispy, Salty Skin + Fluffy Interior
Steamed potato skin becomes wet, soft, and papery. The salt cannot adhere properly, and the oil cannot fry the exterior. Additionally, the excess moisture stays trapped inside the flesh, making the potato heavy and wet.
To get the best results, always cook your potatoes completely bare in the air fryer basket. The direct exposure to circulating hot air is what transforms the skin into a crispy, flavorful crust.
If you are concerned about keeping the elements of your meal safe during high-heat cooking, you can read our safety guide on which materials are heat-resistant in countertop appliances.
The Critical Science of Potato Pricking (and the Danger of Steam Build-up)
Pricking the skin of a potato before cooking is not just a cosmetic step. It is a necessary safety and quality measure. As a potato heats up, the water inside the flesh expands and converts into steam.
This steam needs a clear pathway to escape. If you do not poke holes in the skin, the steam builds up immense pressure inside the potato. In some cases, this pressure can cause the skin to rupture violently, leaving you with a messy cleanup inside your air fryer basket.
Even if the potato does not burst, trapped steam creates a dense, soggy interior. Pricking the potato allows the steam to vent consistently throughout the cooking cycle. This venting dries out the flesh just enough to create those sought-after pockets of fluffiness.
To prep your potato correctly, take a sharp fork and pierce the skin about six to eight times. Space the punctures evenly around the entire potato, burying the tines about a quarter-inch deep into the flesh. This simple step ensures safe, even cooking every single time.
Which Oil and Salt Combo Delivers Steakhouse-Style Skin?
The secret to that iconic, salty, and ultra-crispy steakhouse-style skin lies in your choice of fat and seasoning. The oil serves two purposes: it conducts heat directly to the skin to crisp it up, and it acts as an adhesive for the salt.
Not all fats are created equal when cooking at high temperatures. As of 2026, air fryer recipes prioritize oils with high smoke points to prevent bitter off-flavors and smoke.
| Oil Type | Smoke Point | Flavor Profile | Skin Crispiness Rating |
|---|---|---|---|
| Avocado Oil | 500°F (260°C) | Neutral, extremely clean | Excellent |
| Refined Olive Oil | 465°F (240°C) | Light, slightly grassy | Very Good |
| Melted Duck Fat | 375°F (190°C) | Rich, savory, deeply complex | Outstanding |
| Extra Virgin Olive Oil | 325°F (163°C) | Strong, peppery, prone to smoking | Fair |
After selecting an oil, pair it with coarse kosher salt rather than fine table salt. The larger crystals of kosher salt do not dissolve immediately into the oil. This allows them to cling to the skin, creating a delicious, crunchy savoriness with every bite.
Avoid using aerosol sprays. These can contain chemical propellants that can scratch or damage the non-stick coating of your air fryer basket over time. Instead, pour a small amount of liquid oil onto your hands and rub it directly over the potato.
If you enjoy experimenting with other crisped toppings, you can also try making crispy seasoned onions as a textured topping for your finished potato.
Step-by-Step Guide: How to Bake the Perfect Potato in an Air Fryer
Managing the preparation and cooking process is straightforward when you follow a structured workflow. Follow these systematic steps to prepare consistent, perfectly cooked potatoes.
Step 1: Wash and Dehydrate the Skins
Scrub the potatoes thoroughly under cold running water using a stiff vegetable brush. Once the dirt is removed, dry them completely with a clean lint-free kitchen towel or paper towels. Excess surface water will delay the crisping process.
Step 2: Vent for Steam Escape
Hold the potato firmly and use a fork to prick it six to eight times. Ensure you penetrate the skin and enter the flesh slightly. Distribute the punctures evenly across all sides of the potato.
Step 3: Lubricate and Season
Drizzle approximately half a teaspoon of high-smoke-point oil over each potato. Use your hands to massage the oil across the entire surface, ensuring no dry spots remain. Immediately sprinkle a generous pinch of coarse kosher salt over the oiled skin, rotating the potato to coat it evenly.
Step 4: Arrange and Space
Place the seasoned potatoes into the air fryer basket. For optimal convection airflow, leave at least one inch of space between each potato.
[ Good Flow: Spaced ]      [ Bad Flow: Crowded ]
     O     O     O             O O O O O O
   (Air circulates)          (Steam gets trapped)
If you are cooking other vegetables at the same time, make sure there is enough room for circulation. For instance, if you are wondering how to cook squash simultaneously, it is best to cook them in separate batches to avoid crowding the basket and reducing the air velocity.
Step 5: Cook and Rotate
Set your air fryer to 400°F (200°C) and set the timer for 40 minutes for standard medium potatoes. At the 20-minute mark, use silicone tongs to flip the potatoes over. This ensures the heat hits the bottom skins just as intensely as the tops.
Step 6: Test and Cool
Check the potatoes for doneness using the squeeze or temperature test. Once finished, remove them immediately from the hot basket. Slice them open right away to let the steam escape, then add your favorite toppings.
Air Fryer Cooking Times by Potato Weight and Size
Because potatoes grow in irregular shapes and sizes, relying solely on a generic cooking timer can lead to undercooked or overcooked results. Weight is the most accurate metric to determine your cooking timeline.
Aggregate testing with various air fryer basket depths suggests using these targeted timeframes as a starting point.
| Potato Classification | Weight per Unit | Cook Time at 400°F (200°C) | Convection Fan Speed |
|---|---|---|---|
| Small Spuds | 5 to 6 ounces | 30 to 35 minutes | High |
| Medium Spuds (Standard) | 8 to 10 ounces | 40 to 45 minutes | High |
| Large Spuds | 12 to 14 ounces | 50 to 55 minutes | High/Medium |
| Jumbo Spuds | 16+ ounces | 60+ minutes | Medium |
Always adjust the timer based on the thickness of the potato’s widest point. A long, thin potato will cook faster than a short, round, ball-shaped potato of the same weight. If you are cooking multiple potatoes at once, sort them by size so they finish cooking at the same time.
How to Check for True Doneness: The Temperature and Squeeze Tests
Doneness should never be a guessing game. Cutting into a potato only to find a hard, cold core is a frustrating experience. You can easily verify that your potato is cooked perfectly using two simple, non-destructive tests.
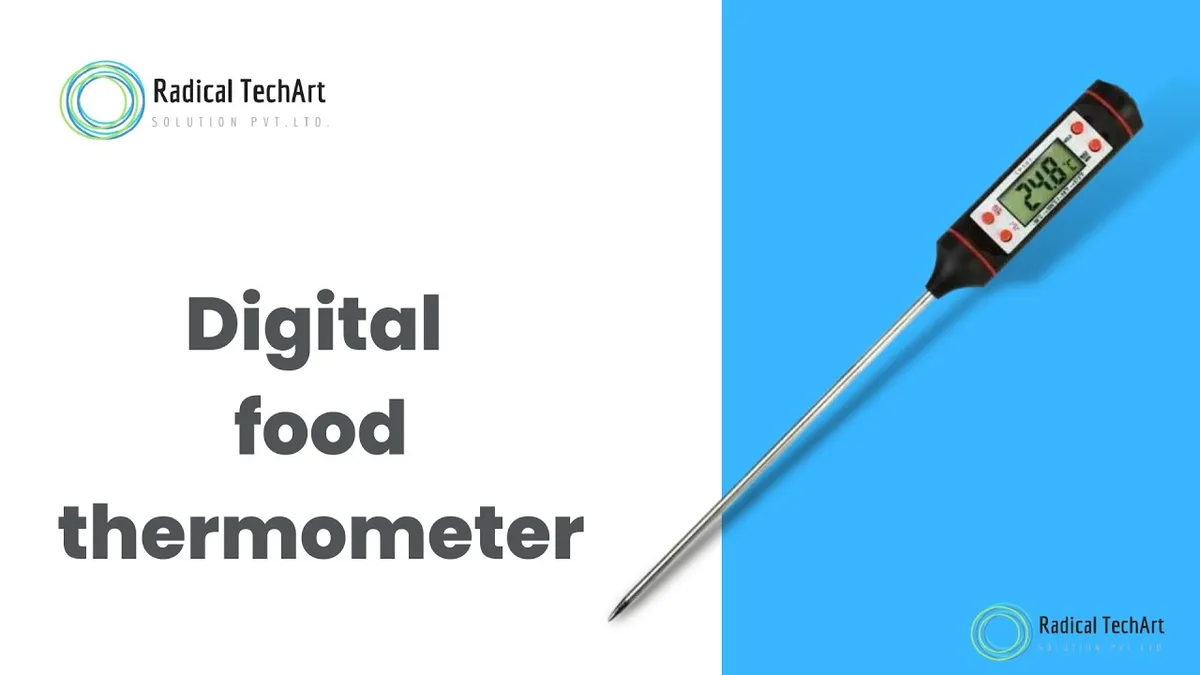
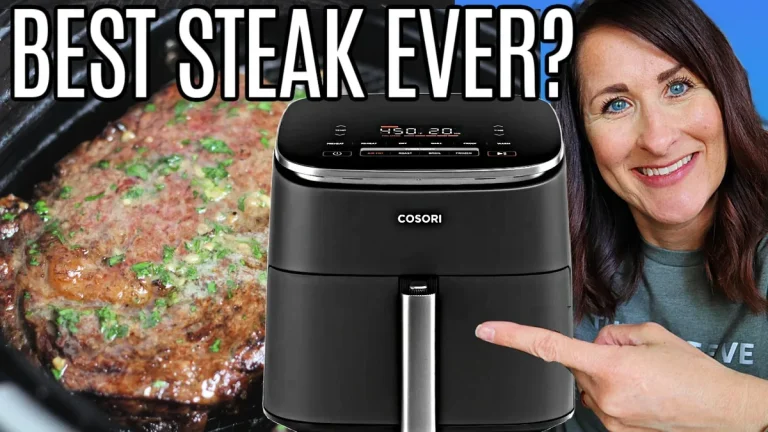
Image source: YouTube / Raj Kanabar (YouTube thumbnail (fair-use with source credit))
The Squeeze Test
Using a thick silicone oven mitt or heavy-duty kitchen tongs, gently squeeze the sides of the potato. A fully cooked potato will give easily under gentle pressure, feeling soft and pillow-like all the way to the center. If you feel any resistance or a firm, solid core, return the potato to the basket for another 5 minutes.
The Temperature Test (The Professional Method)
For guaranteed accuracy, insert the metal probe of an instant-read digital food thermometer into the very center of the potato’s thickest part.
- Below 200°F (93°C): The potato is undercooked. The starch granules have not fully broken down, and the center will feel dense or waxy.
- 205°F to 212°F (96°C to 100°C): This is the sweet spot. At this temperature range, the starches have completely gelatinized, and the internal water has turned to steam, creating a light, dry, and fluffy crumb.
- Over 215°F (101°C): The potato is overcooking. The moisture is completely depleted, and the interior will taste dry, chalky, and hollow.
Common Air Frying Pitfalls: Why Your Potatoes Turn Out Gummy or Raw
Even with a straightforward cooking process, minor deviations can lead to poor results. Understanding these common pitfalls will help you avoid rubbery skin or hard centers.
- Failure to Dry the Skins completely: If you coat a damp potato with oil, you trap water underneath the oil barrier. This water boils during the cooking process, turning the skin rubbery and tough rather than light and crispy.
- Leaving the Cooked Potato in the Basket: The air fryer basket acts as a heat sink. If you leave the potatoes inside after turning off the unit, the residual heat will sweat the starch, making the fluffy interior turn damp and gummy.
- Crowding the Basket: Air fryers require ample space for air circulation to work effectively. If you crowd several large potatoes together, they will block the air path, resulting in unevenly cooked spots and patchy, soft skin.
- Slicing the Potato Too Late: If you cook a potato perfectly but let it sit uncut for five minutes, the steam inside condenses back into water. This turns your fluffy potato texture heavy and wet. Always slice and fluff your baked potatoes immediately after cooking.
Best Toppings and How to Vent the Steam Post-Cook
The moment your air fryer timer goes off, the final step to ensuring a perfect texture begins. Grab your tongs and transfer the hot potato to a cutting board.
Use a sharp knife to cut a straight line down the center, stopping just short of slicing it completely in half. Using your fingertips (protected by a clean kitchen towel), push the outer ends of the potato inward and upward.
This motion bursts the interior open, allowing a cloud of hot steam to escape. Use a fork to gently tease and fluff the white flesh, creating loose, airy texture pockets designed to hold toppings.
       [ Slice ]                 [ Squeeze Ends ]             [ Fluff with Fork ]
   _________________               \   _______   /               _  . * . * .  _
  (______  |  ______)    ===>       \ (  |  ) /       ===>      ( \_Fluffy!_/ )
         v                             v                           v
Once fluffed, customize your potato with your favorite toppings:
- The Classic Steakhouse: Salted butter, sour cream, crispy bacon bits, and freshly chopped chives.
- The Broccoli Cheese: Warm cheddar cheese sauce paired with steamed broccoli florets.
- The Chili Baker: A ladle of warm beef or vegetarian chili, topped with grated pepper jack cheese and sliced green onions.
- The Mediterranean: A drizzle of extra virgin olive oil, minced garlic, crumbled feta cheese, and dried oregano.
Reheating Leftover Baked Potatoes: Microwave vs. Air Fryer Benchmarks
Leftover baked potatoes often end up soggy and unappetizing because most people reheat them in the microwave. Microwaving excites the water molecules throughout the potato, heating it from the inside out and turning the skin rubbery.
Reheating in the air fryer restores the original crispy skin and fluffy interior beautifully.
To reheat, preheat your air fryer to 350°F (175°C). Place the leftover baked potato directly into the basket and heat for 10 to 12 minutes.
The circulating hot air crisps the skin back up and warms the center gently, maintaining a delicious texture without drying it out.
Frequently Asked Questions About Air Frying Potatoes
Can you overcook a potato in an air fryer?
Yes. If you leave a potato in the air fryer too long, the internal moisture will evaporate completely. This causes the interior flesh to become dry, yellow, and hollow, while the outer skin can turn unpleasantly hard and bitter.
Do I need to preheat the air fryer?
Preheating is not strictly necessary for baking potatoes, but it does help. Placing your potato into a preheated 400°F (200°C) air fryer instantly starts the crisping process on the skin and can shave 3 to 5 minutes off your total cook time.
Why is my air-fried potato still hard in the middle?
If the center of your potato is still hard, it is either because the potato was too large for the cook time or your temperature was set too low. Return the potato to the air fryer at 400°F (200°C) and continue cooking in 5-minute increments until it passes the squeeze test.
Should I wash the potatoes before air frying them?
Yes. Potatoes are root vegetables that grow directly in soil, so they often carry dirt, debris, and microbes on their skin. Always wash and scrub them thoroughly, then dry them completely before adding oil and salt.
Choosing the Right Rack Versus Basket Setup
If your appliance has a wire rack, use it instead of placing the potato directly on a solid pan. Wire shelves allow the convection fan to circulate hot air under the bottom skin.
If your air fryer only has a standard pull-out basket, simply place the potatoes directly on the slotted tray. Flip them halfway through the cooking cycle to ensure the bottom skin dries out and crisps up evenly.
Adjusting Air Speed and Temperature for Large Batches
When cooking four or more large potatoes, drop the cooking temperature to 375°F (190°C) and increase the time by 10 minutes. Crowding the basket traps extra moisture as the potatoes sweat.
The lower temperature prevents the outer skins from burning while the dense centers slowly catch up. Keep the fan speed on high to help disperse the extra steam.
How to Avoid Solanine Toxicity and Green Skins
Never cook potatoes that show a green tint on their skin under any circumstances. This green color indicates a high concentration of solanine, a toxic compound that develops when potatoes are exposed to light.
Solanine causes digestive distress and cannot be destroyed by the high heat of air frying. Cut away any small green patches or discard the potato entirely to ensure your meal is safe.
Storing Raw Potatoes for the Best Air Fryer Starches
Store your raw potatoes in a cool, dark, and well-ventilated pantry rather than the refrigerator. Cold refrigeration temperatures convert the potato’s natural starches into sugars.
This chemical change ruins the fluffy texture. It also causes the skin to turn prematurely dark and bitter during the air frying process.
Final Troubleshooting Checklist before Your Next Cook
Before inserting your seasoned spud, run through this quick mental check to ensure a flawless bake.
- Are the potatoes scrubbed and dried completely?
- Did you pierce the skin with a fork to prevent a steam explosion?
- Is your air fryer basket uncrowded to allow maximum airflow?
- Did you skip the foil to guarantee a crispy skin?
Adjusting the Cook for Sweet Potatoes Versus Russets
If you decide to cook sweet potatoes instead of Russets, you will need to lower your air fryer temperature. Sweet potatoes contain much more natural sugar and less starch than white potatoes.
Cook them at 375°F (190°C) for 35 to 40 minutes. This lower temperature prevents the sugars from burning on the outside while the dense center cooks through.
Elevating Your Seasoning Game: Beyond Kitchen Salt
You can easily upgrade your potato skins by adding garlic powder, onion powder, or smoked paprika to your oil rub. For a premium savory flavor, replace your standard oil with melted bacon grease.
Apply these additional spices during the last 10 minutes of cooking. This prevents the delicate dried seasonings from scorching under the direct heat of the fan.
Dealing with Leftovers: Safe Storage and Food Safety
Store any leftover baked potatoes in an airtight container in the refrigerator within two hours of cooking. Do not leave them sitting at room temperature, especially if they were wrapped in foil at any point.
Under the right conditions, low-oxygen environments can encourage dangerous bacterial growth. Eat your refrigerated leftovers within three to four days for optimal safety and quality.
Healthy Alternatives to Butter and Sour Cream
For a lighter topping option, replace sour cream with plain Greek yogurt to boost protein without sacrificing creaminess. Salsa, sliced green onions, and hot sauce also add immense flavor without extra fat.
A drizzle of extra virgin olive oil paired with fresh cracked black pepper offers a heart-healthy alternative to butter. These swaps keep your meal highly nutritious while preserving the classic baked potato experience.
The Environmental and Cost Benefits of Using Air Fryers
Using a small countertop convection appliance is far more energy-efficient than heating a large kitchen oven. Standard wall ovens draw up to 4000 watts of power and require long preheating phases.
An air fryer typically uses only 1500 watts and heats up almost instantly. This saves you money on utility bills and prevents your kitchen from overheating during the hot summer months.