What Is How Do You Cook Tilapia in an Air Fryer
You've got a fillet of tilapia sitting in the fridge and an air fryer taking up counter space. You're wondering if the two are a match made in heaven or a recipe for dry, rubbery disappointment. The good news is that cooking tilapia in an air fryer is one of the fastest, most foolproof ways to get a flaky, tender fish with a crispy exterior, and it takes about 15 minutes from start to finish.
The key isn't just temperature and time, though those matter. It's understanding how the air fryer's intense, circulating heat interacts with a delicate, lean white fish. Per FDA guidelines, tilapia must reach an internal temperature of 145°F to be safe, and hitting that mark without overcooking requires a few specific techniques.
Once you understand the basics, you'll never reach for a skillet again.
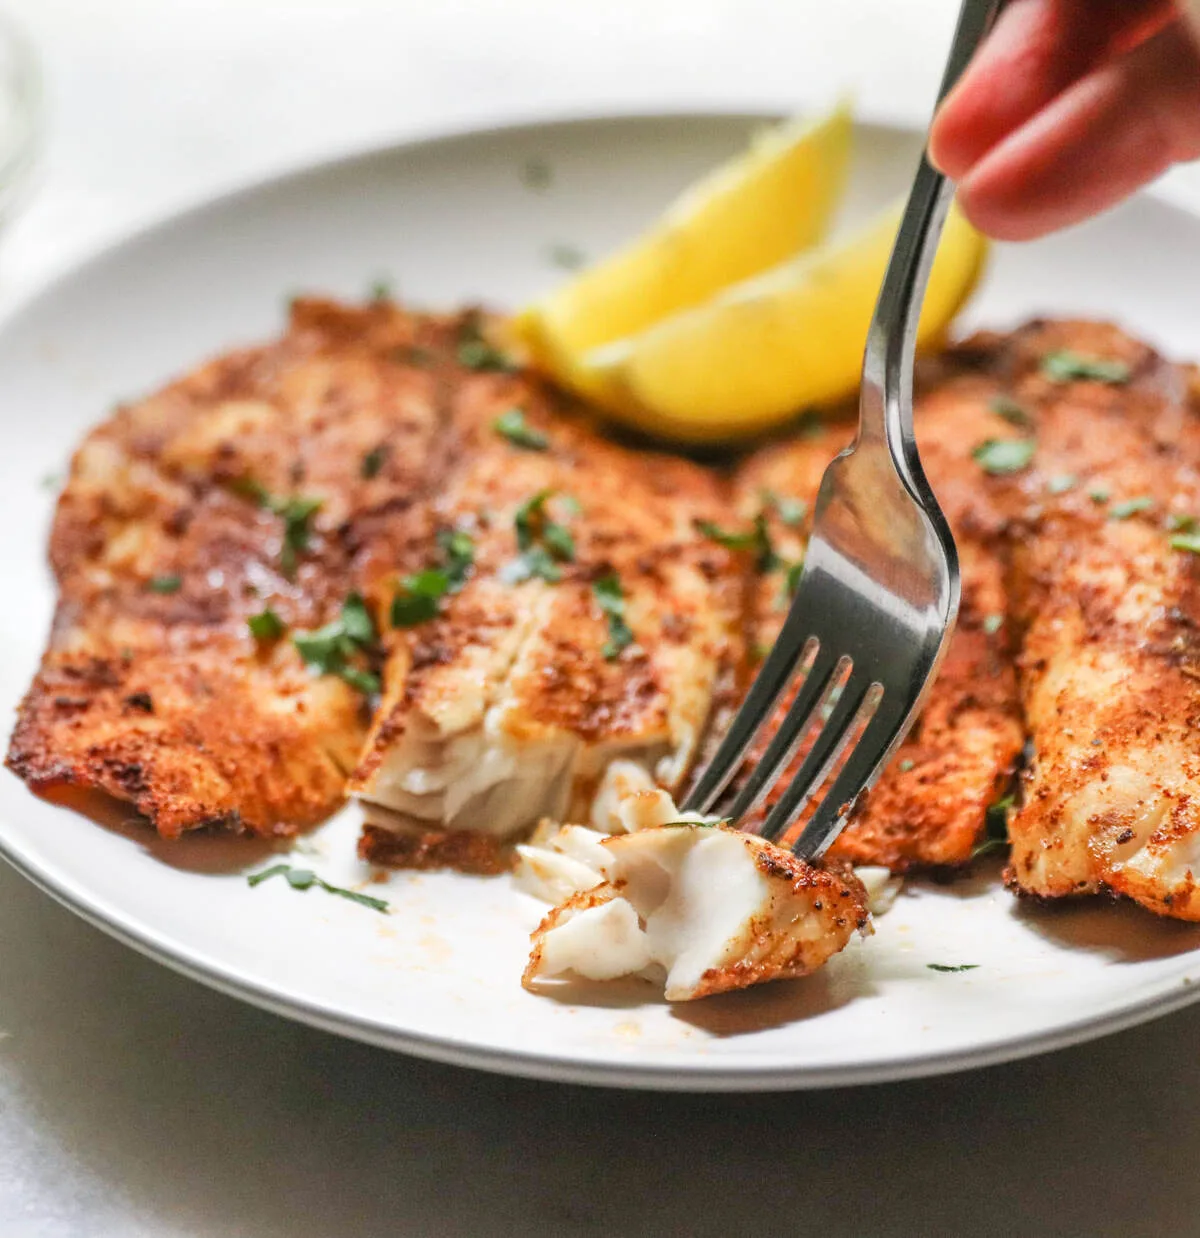
Image source: Web (Bing) / cookathomemom.com (Web image (fair-use with source credit))
Quick Answer
Set your air fryer to 400°F. Pat your thawed tilapia fillets completely dry. Brush them lightly with oil and season both sides.
Place them in a single layer in the basket and cook for 8 to 10 minutes. Your fish is done when it hits 145°F internally and flakes easily with a fork.
What You Need to Know Before You Start
Tilapia is a lean, mild white fish that cooks fast and dries out even faster. This is the central tension of cooking it in an air fryer. The intense hot air circulation is fantastic for crisping, but it also pulls moisture out of delicate flesh quickly.
A few core facts will guide your approach. First, thickness is your primary variable. A thin fillet, around half an inch thick, cooks significantly faster than a thick-cut fillet approaching an inch.
Second, moisture is the enemy of crispiness. The drier the surface of the fish when it hits the basket, the better the texture results. Third, you need a reliable instant-read thermometer.
Not guessing, not eyeballing, an actual thermometer. We'll explain why in detail later.
Frozen and thawed fillets behave completely differently in the air fryer. That's the biggest fork in the road, and understanding it will save you from mushy fish. Finally, remember that your air fryer doesn't preheat itself.
Most models need three to five minutes to reach the set temperature, and skipping this step affects cook times. Check your specific model's manual for exact guidelines.
Thawed or Frozen? Your First Big Decision
Your first decision is whether you're cooking from the refrigerator or straight from the freezer. This choice changes your temperature, your cook time, and your expectations for the final texture.
Thawed fillets are the ideal starting point. They give you the most control over doneness and allow for a better crust. When fully thawed, the fish cooks evenly from edge to center, and you can season or bread it effectively.
The texture is flakier and more delicate compared to frozen fish.
Frozen fillets work, but they're a different animal entirely. The main issue is that the exterior cooks and dries out while the interior is still thawing and cooking through. You'll often end up with a slightly firmer texture and less control over the final result.
If you're using frozen tilapia, you must either adjust your expectations or adjust your technique.
If you have time, thaw your tilapia in the refrigerator overnight. That's the safest method per USDA guidelines because it keeps the fish at a constant, safe temperature. A faster method is to place the sealed fillets in a bowl of cold water for 15 to 20 minutes.
Never thaw fish on the counter at room temperature, as bacteria multiply rapidly between 40°F and 140°F.
The Step-by-Step: How to Cook Thawed Tilapia in an Air Fryer
Now, for the actual cooking process. This is where the details separate a perfect fillet from a doorstop.
Prep Your Fillets Right (Dry + Oil + Season)
Start with fully thawed tilapia. Remove the fillets from the package and place them on a clean cutting board or a plate lined with paper towels.
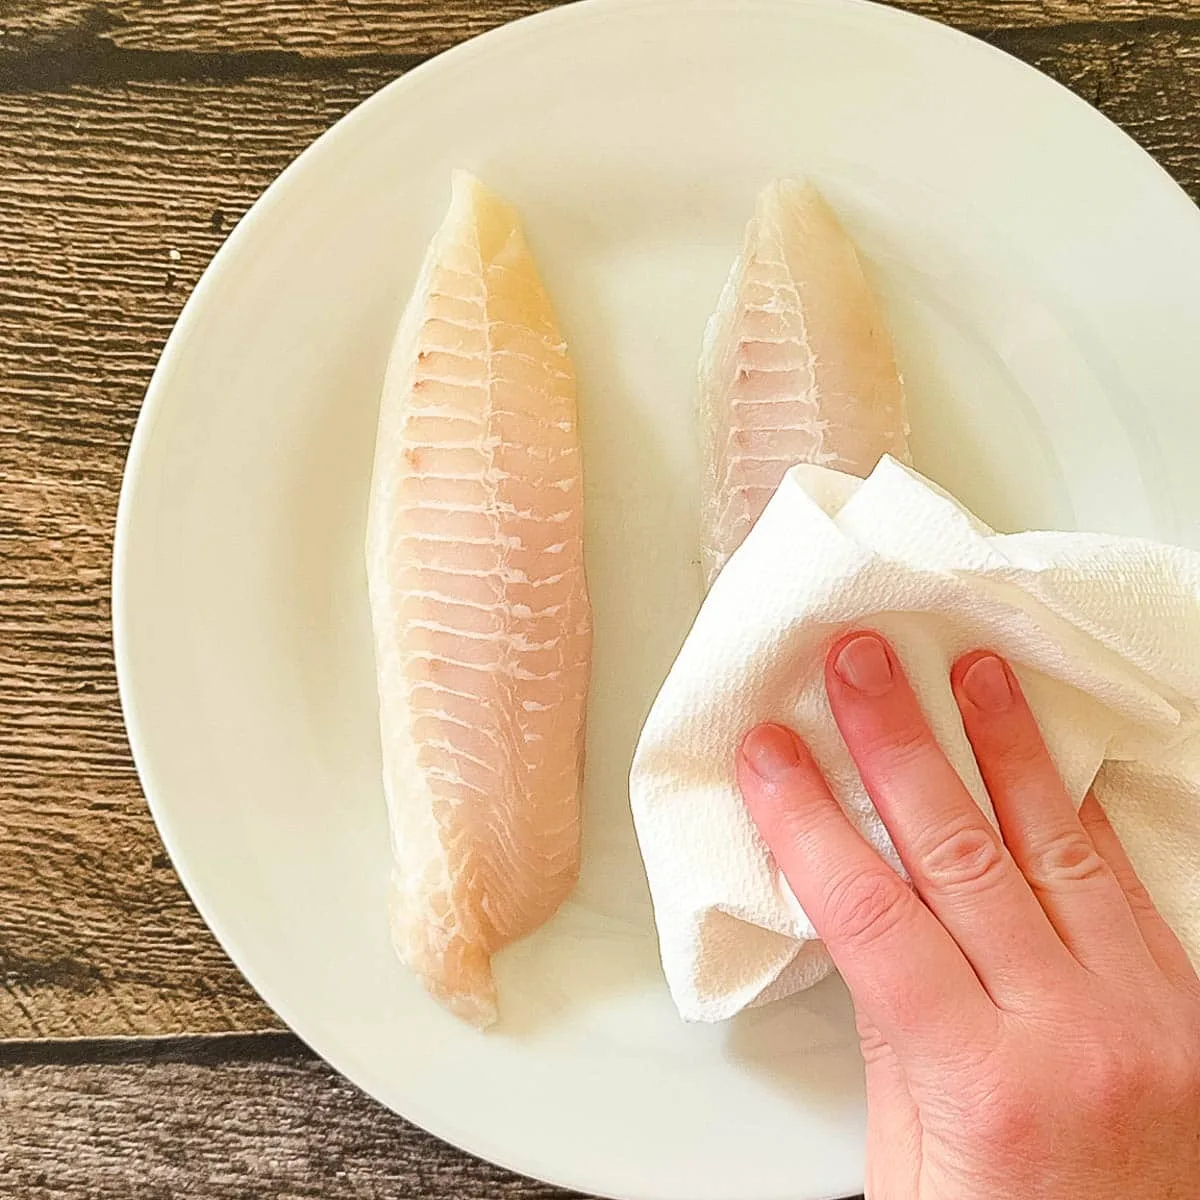
Image source: Web (Bing) / windingcreekranch.org (Web image (fair-use with source credit))
Pat the fillets completely dry. This is the single most important step for a crispy exterior. Any surface moisture will steam the fish instead of searing it.
Use fresh paper towels and press firmly on both sides.
Next, brush both sides of the fillets with a light coating of oil. Avocado oil or light olive oil works best because they have high smoke points and neutral flavors. You only need about a teaspoon per fillet.
Too much oil and the fish becomes greasy. Too little and it sticks to the basket.
Season immediately. Tilapia has a mild flavor, so it takes on whatever you give it. A simple blend of garlic powder, paprika, salt, and black pepper works beautifully.
For a spicier kick, try a store-bought blackening seasoning. For a brighter flavor, add a squeeze of lemon juice over the top before cooking, although this adds moisture, so use it sparingly.
Set the Temp and Time
Preheat your air fryer to 400°F for three to five minutes, depending on your model. This step is non-negotiable for consistent results. If you're unsure whether your model needs preheating, check our guide on preheating an air fryer.
Once preheated, place the seasoned fillets in the basket in a single layer. They should not touch each other. Overcrowding restricts hot air circulation, which leads to uneven cooking.
If you have more fillets than fit comfortably, cook them in batches. It adds a few minutes but produces a much better result.
For standard, half-inch thick fillets, cook at 400°F for 8 to 10 minutes. Thicker fillets, approaching an inch, will need 12 to 14 minutes. The exact time depends on your air fryer's wattage and how accurate its temperature sensor is.
Some models run hot, so it's worth checking early.
Cook, Check, Rest
Halfway through cooking, it's a good idea to pause and check the fillets. There's no need to flip them, as the top and bottom heat works sufficiently. But you should check for visual cues.
The fish should be turning opaque and starting to brown at the edges.
At the minimum cook time, start checking the internal temperature. Insert an instant-read thermometer into the thickest part of the fillet. You're looking for 145°F.
This is the FDA-recommended safe internal temperature for fish. Pull the fillets out the moment they hit 145°F. Carryover cooking will push them slightly higher, and that's fine.
Rest the fish for two to three minutes before serving. This lets the juices redistribute and the flesh set. Skip this step, and you'll lose some of the flakiness.
How to Cook Frozen Tilapia in an Air Fryer
Cooking frozen tilapia is a lifesaver on busy weeknights when you forgot to thaw anything. The good news is it's completely doable. The bad news is you need to understand what you're sacrificing.
Frozen fillets cook differently because the water inside the fish has crystallized. As the ice melts during cooking, it steams the flesh from within. This means you lose the crispy exterior, and the texture becomes slightly firmer and denser than you'd get with thawed fish.
The general rule is to add about five minutes to your cooking time. Preheat the air fryer to 400°F. Brush the frozen fillets lightly with oil, as this helps them brown.
Season them generously. Place them in a single layer in the basket and cook for 12 to 15 minutes, depending on thickness.
Do not coat frozen fillets in batter or breadcrumbs. The moisture they release as they thaw will make any coating slide right off into a soggy mess. Season them simply and accept that they won't get as crispy as thawed fish.
Check the internal temperature at the 12-minute mark. Frozen fish can cook unevenly, so it's essential to probe the thickest part of each fillet. Again, you're shooting for 145°F.
Rest for three minutes before serving to let the temperature equalize.
7 Common Tilapia Mistakes That Ruin the Fish
Even with good intentions, it's easy to ruin a batch of tilapia. These are the most common mistakes we see in reviews and cooking forums.
1. Overcrowding the basket. This is the number one killer. When fillets touch, they steam each other.
The result is a pale, soggy exterior and unevenly cooked flesh. Always leave space between each fillet, and cook in batches if needed.
2. Using too much oil. A heavy coat of oil doesn't help crispiness. It creates a greasy mess and can cause the fish to slide around.
A light brush is all you need.
3. Skipping the preheat. A cold air fryer extends cooking time and produces inconsistent results. Always preheat for at least three minutes.
4. Overcooking by faith. Guessing the doneness by time alone is a recipe for dry fish. Tilapia goes from perfectly flaky to rubbery in under a minute.
Use a thermometer and your timer together.
5. Seasoning too early. Salt draws moisture out of the fish, making it harder to get a crispy crust. Season right before placing the fillets in the basket, not 10 minutes ahead.
6. Cooking from frozen without adjusting expectations. Frozen fish won't crisp up the same way. If you expect a crunchy crust from a frozen fillet, you'll be disappointed.
7. Ignoring the soak-back. If you don't rest the fish after cooking, the juices pool on the plate and damage the crispy exterior. A two-minute rest solves this completely.
Relatedly, if you find your air fryer food comes out soggy consistently, the issue might not be the fish. Check out our guide on why air fryer food gets soggy to troubleshoot your equipment.
When you're done, clean the basket right away. Dried fish residue is much harder to remove later.
Quick Troubleshooting: Why Your Tilapia Went Wrong
Even when you follow every step, things can go sideways. Here's how to diagnose the most common failures by looking at what came out of your air fryer.
Soggy on one side? Your fillets were touching in the basket. That trapped moisture between them and created a steamed patch. Next time, cook fewer fillets per batch and leave at least half an inch of space between each one.
Dry and flaky to the point of falling apart? The temperature was too high or you left them in too long. Tilapia's protein structure tightens and expels moisture around 145°F. If you hit 150°F or beyond, you're in rubbery territory.
Dial the time back by two minutes and start checking the temperature earlier.
Sticking to the basket? You forgot the oil or the liner. A light brush of oil across the grill grate or a perforated parchment liner designed for air fryers solves this completely. You can also spray the basket itself with a quick coat of nonstick spray before adding the fish.
Pale and flabby on top, no browning? Your fillets were too wet when they went in. The surface moisture absorbed the heat and steamed the fish. Pat them dry more aggressively next time and make sure they've had a moment to air out before hitting the basket.
Thick and thin ends cooking unevenly? That's normal anatomy. Tilapia fillets often taper at the tail end. Fold the thin tail under the thicker portion before cooking to create a more uniform thickness.
Thawed vs. Frozen Side-by-Side
Here's a quick reference for when you're deciding which route to take.
| Factor | Thawed | Frozen |
|---|---|---|
| Prep time | Needs 30 min to overnight | None, straight from freezer |
| Cook time at 400°F | 8 to 10 minutes | 12 to 15 minutes |
| Texture | Flaky, delicate, moist | Firmer, slightly denser |
| Breading potential | Holds well | Slides off |
| Crispiness | Excellent | Mediocre |
| Convenience | Needs planning | Best for last-minute meals |
| Ideal for | Weekday dinners, tacos | Quick protein, meal prep |
The Temperature Guide (This Is Non-Negotiable)
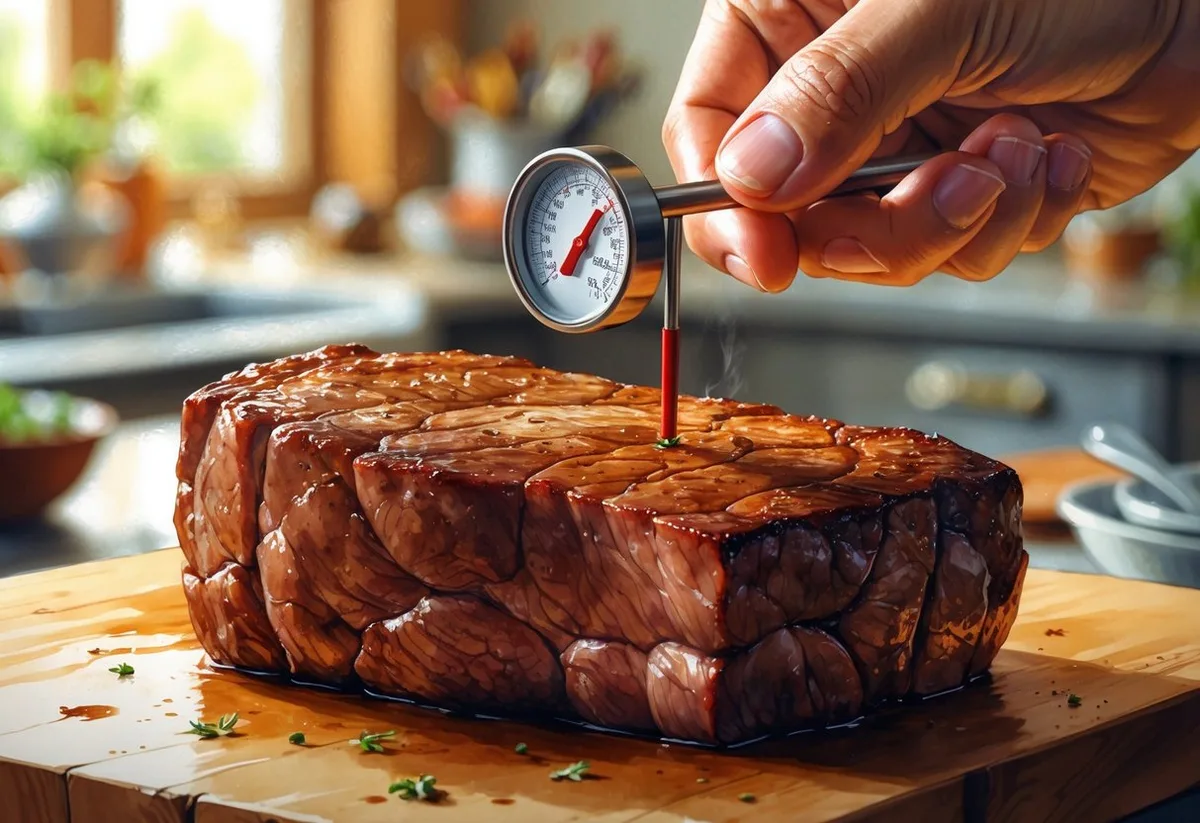
Image source: Web (Bing) / pinterest.com (Web image (fair-use with source credit))
The FDA sets the safe internal temperature for fish at 145°F. That's not a suggestion, it's a food safety standard. It's the temperature at which harmful bacteria are killed quickly enough to make the fish safe to eat.
But here's the thing. Tilapia cooks fast and the window between perfectly done and overcooked is roughly 60 seconds. Pulling it at 145°F gives you tender, juicy flesh.
Hitting 150°F or higher almost always produces that dry, cottony texture people complain about.
A properly cooked tilapia fillet looks opaque all the way through. It flakes easily when pressed with a fork, but it shouldn't fall apart on its own. If it's still translucent or glassy in the center, it needs more time.
If it's pulling apart into dry shards, it's already too far gone.
Insert your thermometer probe into the thickest part of the fillet from the side. Avoid touching the basket or the pan beneath, as that gives you a false reading.
Expert Tips for Next-Level Tilapia
These aren't complicated techniques, but they separate a decent fillet from a genuinely memorable one.
Get a real crust. Skip the heavy breadcrumbs and try a light dusting of cornstarch. Pat the fish dry, dust it with a thin layer of cornstarch, then brush with oil. The cornstarch absorbs surface moisture and turns remarkably crispy under the fan.
Try a lemon butter finish. Melt two tablespoons of butter with a teaspoon of lemon juice and a pinch of garlic powder. Brush it over the fillets in the final two minutes of cooking. The richness compensates for tilapia's naturally lean meat.
Make air-fried fish tacos. Cook your tilapia with a chili-lime seasoning, then flake it into warm corn tortillas. Add shredded cabbage, crema, and a squeeze of lime. It's a weeknight dinner that feels like a restaurant meal.
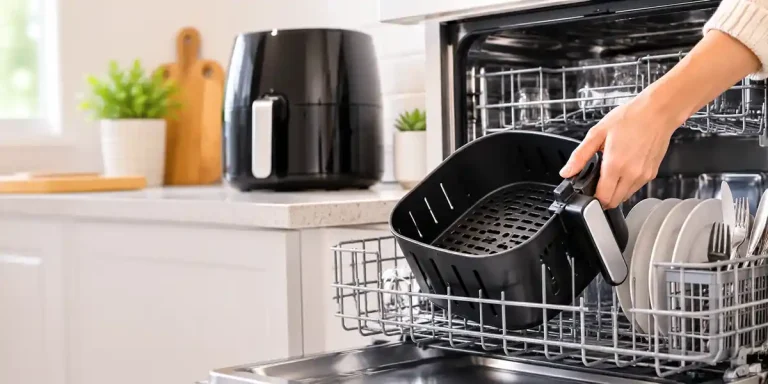
Don't forget the clean-up cycle. Oil and fish residue bake onto the basket quickly. Most modern air fryers have a dishwasher-safe basket, but hand-washing with warm soapy water right after cooking is gentler. Leftover fish smell can linger, so wiping down the interior while it's still slightly warm helps.
Frequently Asked Questions
Do I need to flip the tilapia in the air fryer?
Usually no. The circulating hot air cooks both sides evenly. The only exception is if your model has a weak fan or you're cooking extra-thick fillets.
In that case, flip at the halfway mark for even browning.
Why does my tilapia taste fishy even when fresh?
Tilapia is one of the mildest fish you can buy. If it tastes overly fishy, the issue is likely freshness. Look for fillets that smell clean and slightly sweet, not "fishy." That odor is a sign of aging.
You can also soak fillets in milk for 20 minutes to neutralize any lingering taste.
What if it's not done at 10 minutes?
That's normal for thicker fillets or lower-wattage air fryers. Keep cooking in two-minute increments, checking the internal temperature each time. Don't rely on the timer alone.
The thermometer is the final authority.
Can I stack tilapia fillets in the basket?
No. Stacking restricts airflow and results in steamed, unevenly cooked fish. Cook them in a single layer or run multiple batches.
What other white fish can I swap in?
Cod, sole, and catfish all work well in the air fryer. Cod is thicker and needs a few extra minutes. Sole is thinner and cooks slightly faster.
Adjust cooking time based on thickness, not the species name.
The Bottom Line: Your Foolproof Mini Recipe
Here's the whole process condensed into a repeatable format you can screenshot and save.
Thawed version:
- Pat fillets dry with paper towels
- Brush each side with about 1 teaspoon of oil
- Season with garlic powder, paprika, salt, and pepper
- Cook at 400°F for 8 to 10 minutes
- Pull at 145°F internal temperature
- Rest for 2 to 3 minutes
Frozen version:
- Brush frozen fillets lightly with oil
- Season generously
- Cook at 400°F for 12 to 15 minutes
- Check internal temperature at the thickest point
- Rest for 3 minutes
That's the entire process. No complicated steps, no special equipment beyond a thermometer and an air fryer. It's genuinely that simple.
Safety First: What to Watch For
Raw tilapia carries the same risks as any raw seafood. Cross-contamination is your biggest concern. Use a separate cutting board and knife for raw fish, and wash your hands thoroughly after handling it.
Before cooking, check your fillets for off-putting signs. Fresh tilapia should smell mildly clean with no strong ammonia odor. The flesh should be translucent but firm, not mushy or slimy.
If the edges are brown or dried out, it's past its prime.
When cooking, always verify the internal temperature reaches 145°F, per FDA guidelines. This kills harmful bacteria like Listeria and Salmonella. Never rely on color alone, since tilapia turns opaque before it's fully safe to eat.
Store raw tilapia in the refrigerator at 40°F or below, and cook it within two days of purchase. If you freeze it, keep it at 0°F and use it within three months for best quality.
Visual Doneness Guide (What Good Looks Like)
A perfectly cooked tilapia fillet is opaque white or slightly pinkish throughout. No translucent or glassy spots should remain in the center.
Press the thickest part gently with a fork. The flesh should separate into clean, moist flakes without resistance. If it crumbles into dry shards, it's overcooked.
If it resists flaking entirely, it needs more time.
The surface should show light golden browning. That's the Maillard reaction at work, and it's a sign of proper crispness. The fillet should hold its shape when lifted but flex slightly in the middle.
Use these visual cues alongside your thermometer. The combination of sight and temperature gives you a perfect fillet every single time.