How to How Long Air Fryer Chicken Drumsticks
Ask anyone how long air fryer chicken drumsticks take and you'll hear everything from "20 minutes" to "35 minutes, easy." That uncertainty is the problem. If you pull them too early, you're dealing with pink meat near the bone. Leave them in too long and you've got dry, tough chicken that tastes like a shoe sole.
The real answer sits somewhere in the middle, and it depends on a handful of variables you actually control.
So here's the straightforward version: air fryer chicken drumsticks typically need 22 to 28 minutes at 400°F, assuming they're fresh, patted dry, and not crammed into the basket. But that's just the starting point. The USDA Food Safety and Inspection Service sets the safe minimum internal temperature for poultry at 165°F, and dark meat like drumsticks actually tastes better when you push it to 175°F or 180°F.
That's the difference between "safe" and "actually enjoyable." Let's dig into what shifts those numbers so you stop guessing and start landing perfect drumsticks every single time.
Quick Answer: The Exact Times You Need
For fresh, thawed drumsticks, set your air fryer to 400°F and cook for 24 to 26 minutes. Flip them halfway through, around the 12 to 13 minute mark. That's the sweet spot for most basket-style models running at standard wattage.
If you're working with frozen drumsticks, add 6 to 10 minutes. Start at 380°F for the first 15 minutes to thaw and render the fat, then crank it to 400°F for the final 15 to 20 minutes. The exact time depends on your unit, but the internal temperature is the only thing that truly matters.
| Drumstick State | Temperature | Time Range | Flip At |
|---|---|---|---|
| Fresh, room temperature | 400°F | 22–26 minutes | 12 minutes |
| Fresh, straight from fridge | 400°F | 24–28 minutes | 13 minutes |
| Frozen | 380°F then 400°F | 32–38 minutes total | 15 minutes |
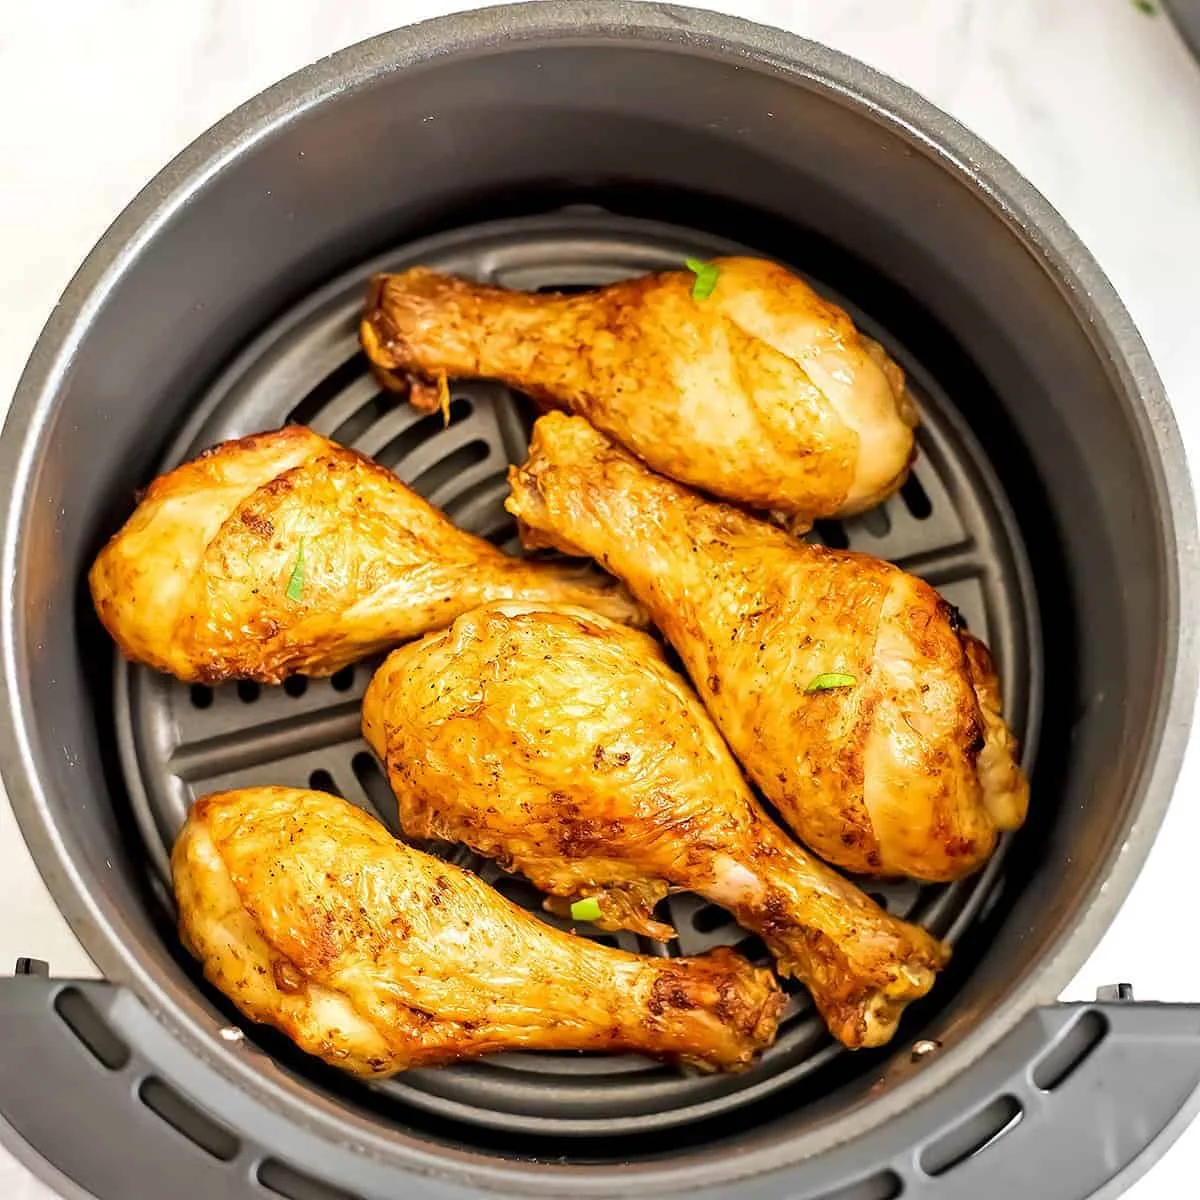
Image source: Web (Bing) / bitesofwellness.com (Web image (fair-use with source credit))
The single most important rule: trust your thermometer, not the timer. Every air fryer runs slightly differently, and even the same model can drift over time. If you want a broader reference for other proteins, our air fryer cooking times guide breaks down the standard ranges for everything from wings to pork chops.
Why Time Is a Moving Target (Not a Magic Number)
You've probably noticed that every recipe online gives you a slightly different time. That's not a conspiracy. It's because air fryers aren't a standardized appliance category the way ovens are.
Wattage is the biggest variable. A compact 1200-watt basket fryer runs cooler than a 1800-watt model, even at the same displayed temperature. The fan speed and basket design also affect air circulation.
Food cooks faster in a tightly packed, high-wattage unit with a powerful convection fan. Slower in a budget model with weaker airflow.
Then there's the drumstick itself. A small drumette from a young chicken might hit 175°F in 20 minutes. A massive leg from a roasting bird could need 30 minutes or more.
Meat density and fat content vary from bird to bird. You cannot control this, so don't pretend a universal time exists.
What about starting temperature? Drumsticks pulled straight from the fridge are usually around 38°F. If you let them sit on the counter for 20 minutes before cooking, they'll be closer to 60°F.
That tiny difference changes the cook time by several minutes. Honestly, letting them warm up slightly helps, but don't leave raw chicken out for too long. Thirty minutes max.
If you're also cooking chicken thighs, they follow a similar timeline. Our chicken thighs in the air fryer guide covers the same principles with slightly different timing.
The Only Number That Actually Matters: 165°F vs. 175°F
The USDA says 165°F is the minimum safe internal temperature for all poultry. That's the legal line you must cross. But here's the thing about drumsticks specifically: they're dark meat.
Dark meat is loaded with connective tissue and collagen. At 165°F, that collagen hasn't fully broken down. You get chicken that's safe to eat but chewy and slightly rubbery near the bone.
Push it to 175°F or 180°F and the collagen renders into gelatin. The meat becomes tender, juicy, and pulls cleanly off the bone.
So your target is technically 165°F for food safety, but really aim for 175°F to 180°F for texture. The extra 10 to 15 minutes of cooking also gives the skin more time to crisp up. That's a win-win.
Where do you check? Insert your instant-read thermometer into the thickest part of the drumstick, avoiding the bone. The bone conducts heat differently and will give you a false reading.
You want the probe in the meat itself, not touching bone.
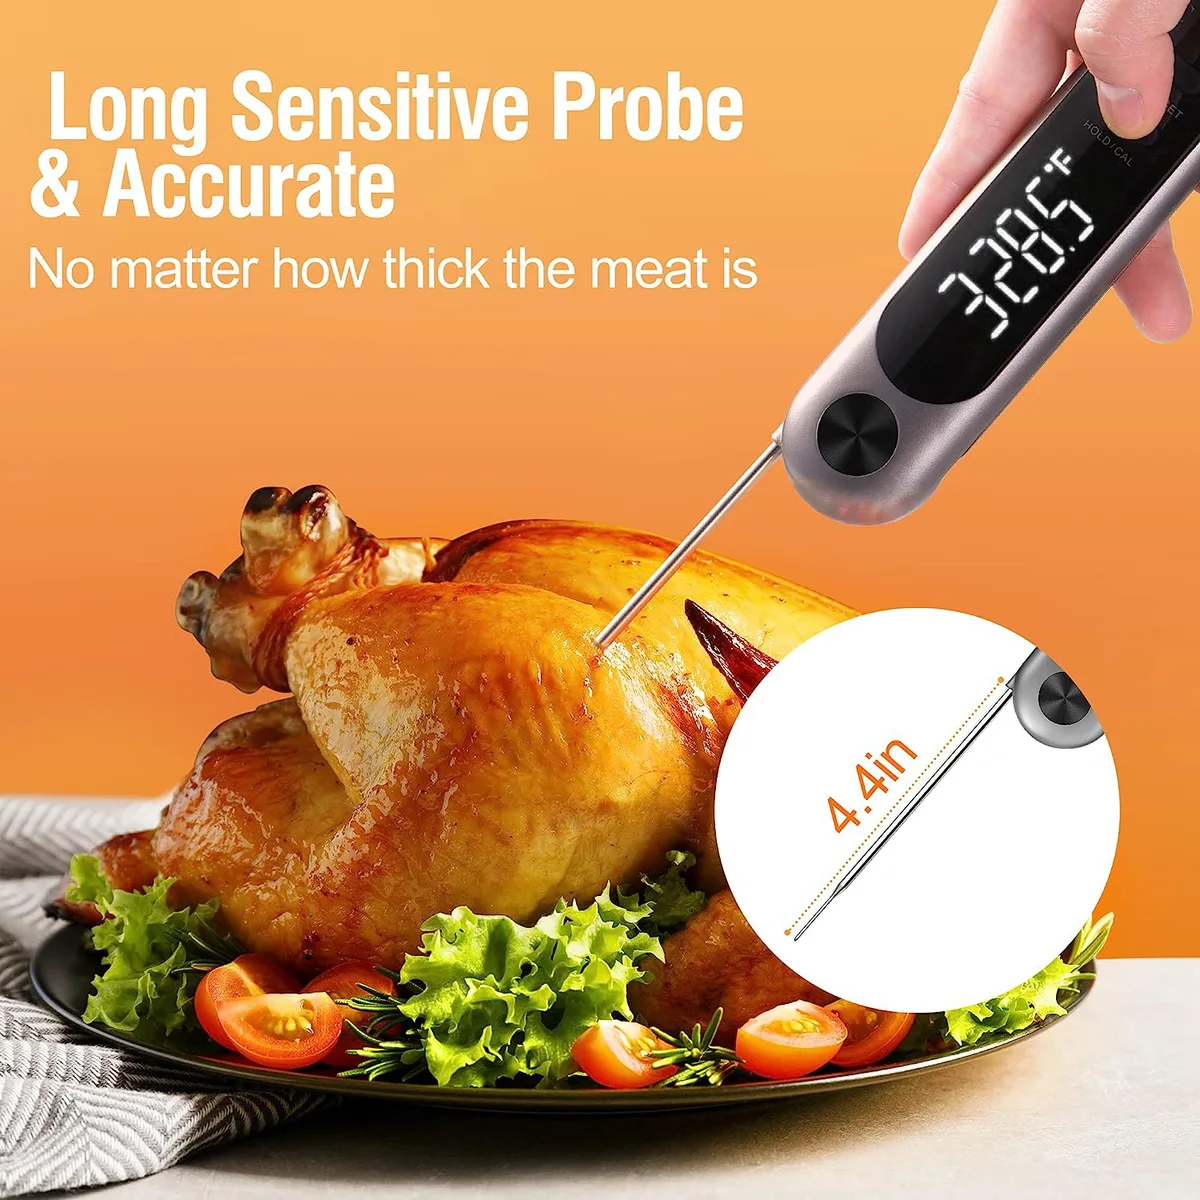
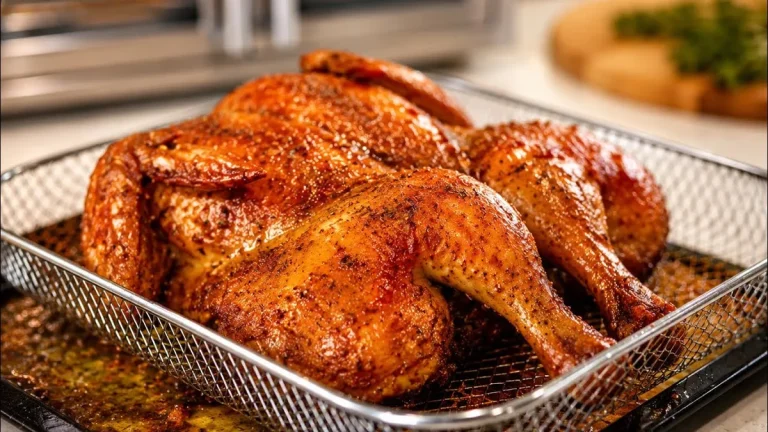
Image source: Web (Bing) / fity.club (Web image (fair-use with source credit))
A decent digital thermometer costs less than $15 and takes five seconds to read. It's the single best investment for anyone cooking chicken regularly. Don't rely on the "juices run clear" test or visual cues.
Those are outdated and unreliable.
Per official USDA guidance, poultry should reach a minimum of 165°F to eliminate harmful bacteria like Salmonella and Campylobacter. You can verify the full breakdown on the USDA Food Safety and Inspection Service page. If you're cooking from frozen, remember that the color of cooked meat can be misleading, so the thermometer becomes even more critical.
Step-by-Step: Air Frying Drumsticks from Scratch
This is the foundation. Follow these steps and you'll have consistently good drumsticks every single time.
Step 1: Pat the drumsticks completely dry.
Paper towels, a clean kitchen towel, whatever you have. The drier the skin, the crispier the result. Moisture is the enemy of browning.
If you skip this, the skin will steam instead of crisp, and you'll get that sad, rubbery texture.
Step 2: Add a light coat of oil.
You don't need much. A tablespoon of neutral oil like avocado or vegetable oil per pound of drumsticks is plenty. Toss them in a bowl with the oil and your seasoning.
The oil helps transfer heat evenly and promotes that golden-brown crust.
Step 3: Season generously.
Salt is non-negotiable. Add pepper, garlic powder, paprika, or whatever spice blend you like. If you're using a wet marinade, skip it.
Wet marinades prevent crisping. Dry rubs are the way to go in an air fryer.
Step 4: Preheat your air fryer to 400°F.
Some models have a preheat button. Others require you to run the unit empty for 3 to 5 minutes. Preheating makes a real difference.
It gives the drumsticks a faster sear on the skin and helps render fat more efficiently. If you're unsure whether your model needs it, our guide on preheat or not walks through the specifics.
Step 5: Place the drumsticks in a single layer.
Overlap means uneven cooking. If you have six big drumsticks and a small basket, do two batches. It takes longer, but the result is worth it.
Cramming them in creates steam pockets and soggy skin.
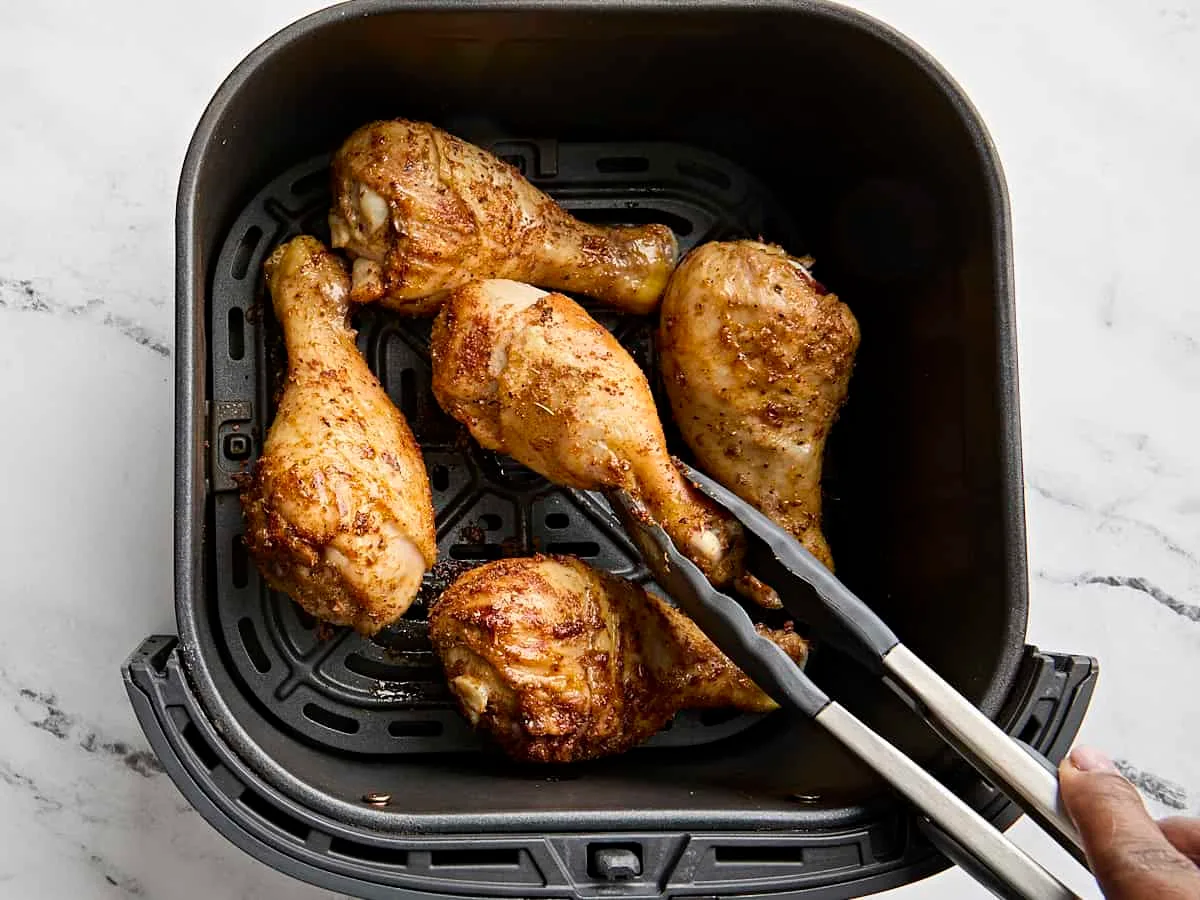
Image source: Bing (Web (fair-use with source credit))
Step 6: Flip halfway through.
At the 12 to 13 minute mark, use tongs to flip each drumstick. This ensures even browning on all sides. Don't shake the basket violently.
That damages the skin. Flip them individually for the best result.
Step 7: Rest for 5 minutes.
Pull them out when they hit 175°F to 180°F and let them rest on a plate or cutting board. The juices redistribute during this time. Cutting into them immediately lets all the moisture run out, leaving you with dry chicken.
If you find your drumsticks are coming out dry despite following these steps, there's usually a simple fix. Temperature too low, cooking too long, or not enough oil. Our troubleshooting guide for dry air fryer chicken covers the common causes in detail.
Common Mistakes That Ruin Drumsticks (And How to Fix Them)
Most air fryer disappointments trace back to a handful of predictable errors. Here's what to watch for.
Overcrowding the basket.
This is the number one mistake. When drumsticks touch, air can't circulate between them. The skin stays pale and flabby.
Cook in batches if you have to. A single layer with space between each leg is non-negotiable for crispy results.
Skipping the pat-dry step.
Raw chicken is wet. If you skip drying, the excess moisture steams the skin. Steam means soggy.
Soggy means you could have just baked them in the oven. Take 30 seconds and pat them dry.
Cooking straight from frozen without adjusting.
Frozen drumsticks need a different approach. The outside cooks faster than the inside, so you risk burning the skin while the center stays raw. Start at a lower temperature, around 380°F, for the first 15 minutes.
Then bump it up to 400°F. Always verify with a thermometer before serving.
Using too much or too little oil.
Too much oil makes the skin greasy and heavy. Too little and the seasoning doesn't stick, plus the skin dries out. One tablespoon per pound is the sweet spot.
Brushing it on with a pastry brush gives you the most even coverage.
Opening the basket every two minutes to check.
Every time you open the basket, heat escapes. The air fryer has to work harder to get back up to temperature. This extends your cooking time and dries out the meat.
Trust the process. Flip once, check at 20 minutes if you're nervous, and use the thermometer at the end.
Not cleaning the basket between batches.
Residual grease and food particles burn during the next batch, which creates bitter smoke and off-flavors. Wiping the basket down between batches takes two minutes. Regular maintenance also keeps your fryer running efficiently.
If you're unsure about the best way to clean it, our grease removal guide has the full rundown.
If your food comes out consistently soggy, that's a separate issue worth investigating. It's rarely about the drumsticks themselves. Our soggy food guide explains the airflow, overload, and moisture factors that cause it.