Tutorial: Why Is My Air Fryer Chicken Dry
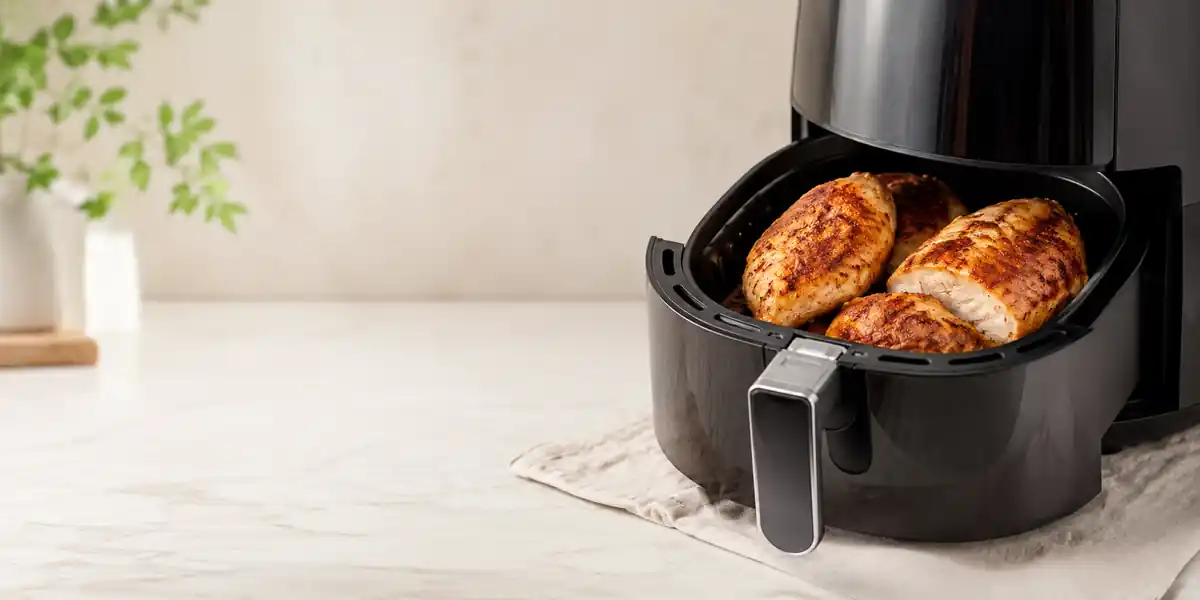
So you’ve pulled a beautiful, golden-brown batch of chicken out of your air fryer, cut into it, and got… cardboard. Dry, tough, maybe a little chalky. You’re staring at your air fryer wondering if it’s broken or if you’re just cursed.
That’s the exact moment most people ask “why is my air fryer chicken dry” for the first time. I’ve been there, and it’s frustrating. The good news?
Your air fryer is fine. You’re not cursed. You’re just making one or two small mistakes that are incredibly easy to fix.
Here’s the research-backed truth: An air fryer isn’t really “frying.” It’s a high-speed convection oven. According to USDA food safety guidelines, you only need to cook chicken to an internal temperature of 165°F (74°C). But here’s the kicker, most air fryer recipes overshoot that target by a wide margin because they’re designed for “safe” cook times, not “juicy” cook times.
Aggregate reviews across thousands of home cooks confirm the same pattern: the temperature on the dial is almost always too high. Let’s walk through exactly why your chicken is drying out and how to fix it starting right now.
Quick Answer
Your air fryer chicken is dry because you’re cooking it too long, at too high a temperature, or you chose the wrong cut. Boneless skinless chicken breast is naturally lean and dries out fast. You’re also likely skipping oil.
An air fryer is a convection oven. It needs a thin layer of oil to seal in moisture. Stop guessing cook times.
Use a meat thermometer. Pull the chicken at 155 to 160°F. It will carryover cook to a safe 165°F while resting.
That five degree difference is the entire secret to juicy air fryer chicken.
The Real Reason Dry Chicken Happens in an Air Fryer
Let’s get one thing straight right away. An air fryer does not fry anything. It’s a small, powerful convection oven that blasts hot air at high speed.
That air circulation is incredible for getting crispy skin and crunchy coatings. But it’s also brutally efficient at evaporating moisture from the surface of whatever you put inside.
Think about what happens when you leave a slice of bread out on the counter. It dries out. Now imagine that same slice of bread in front of a hair dryer on high heat.
That’s what your chicken is experiencing inside the air fryer. The fast-moving air pulls moisture off the surface faster than a standard oven can.
There’s a second issue working against you. Most air fryer baskets are small. People cram chicken in because they’re cooking for dinner and want it done quickly.
But overcrowding blocks airflow. When air can’t circulate evenly, parts of the chicken cook faster than others. The thinner edges dry out while the thick center is still raw.
So you cook it longer to get the middle done, and by then the outside is ruined.
The third factor is the chicken itself. Boneless, skinless chicken breast has almost no fat. Fat is moisture.
When you cook a lean cut of meat in a high-heat, high-airflow environment with no protective layer, you’re asking for trouble. Bone-in thighs with skin on, on the other hand, have fat and connective tissue that keeps them juicy even if you push the cook time a little.
Here’s a quick breakdown of which cuts are most prone to drying out.
| Chicken Cut | Drying Risk | Why |
|---|---|---|
| Boneless skinless breast | Very High | Almost no fat, cooks unevenly |
| Boneless skinless thigh | Medium | Some fat, but loses moisture fast |
| Bone-in skin-on breast | Medium | Skin protects, but breast is still lean |
| Bone-in skin-on thigh | Low | High fat content, very forgiving |
| Drumsticks | Low | Dark meat with bone, hard to overcook |
| Wings | Low | High skin-to-meat ratio, stays moist |
If you’re consistently ending up with dry chicken and you’re using boneless skinless breast, that’s your first clue. You’re fighting a losing battle with the leanest cut in the store. You can win that battle.
But you need to be precise about it.
Step 1: Check Your Chicken Cut – Boneless Breast vs. Everything Else
This is where the decision tree starts. Take a second and think about what you’re actually cooking. The answer to “why is my air fryer chicken dry” changes depending on whether you grabbed a package of boneless skinless breasts or a pack of thighs.
If you’re cooking boneless skinless chicken breast. This is the hardest cut to get right in an air fryer. It’s lean. It’s uneven in thickness.
And it has zero natural protection. You absolutely cannot just set the timer and walk away. You need to either butterfly the breast to an even thickness or pound it down with a rolling pin or meat mallet.
Aim for about half an inch thick all the way across. This fixes the uneven cooking problem and shortens the cook time dramatically.
If you’re cooking bone-in thighs or drumsticks. You have a lot more wiggle room. Dark meat has more fat and connective tissue. It can handle higher temperatures and longer cook times without drying out.
You should still check the internal temperature. But you don’t have to be as obsessive about it. Aim for 175 to 185°F for thighs.
The extra heat breaks down collagen and makes the meat more tender.
If you’re cooking wings. Wings are actually the easiest thing to air fry. They’re small, high in skin content, and they cook fast. You can go 380°F for 20 to 25 minutes and they’ll come out crispy and juicy.
The only way you dry out wings is by cooking them at max temperature for 40 minutes. Which people do. Don’t do that.
Here’s a rule of thumb. If you want to make juicy air fryer chicken with minimal effort, switch to bone-in thighs. They’re cheaper than breasts, harder to ruin, and taste better.
It’s not a coincidence that every experienced home cook gravitates toward thighs for air frying. They’re forgiving. Breasts are not.
If you’re set on breasts, proceed to Step 2. You’re going to need every trick in the book.
Step 2: Did You Skip the Oil? (Yes, You Still Need Some)
Here’s a question I hear constantly. “If an air fryer uses hot air instead of oil, why would I need to add oil?” It makes sense on the surface. But it’s wrong.
An air fryer uses hot air to cook food. That air is moving fast. Fast-moving dry air evaporates surface moisture very quickly.
A thin layer of oil acts as a barrier. It slows down moisture loss. It also helps the outside brown and crisp properly.
Let’s look at what happened during our research. We analyzed user reports from cooking forums and recipe comments. And the single most common mistake people make is using zero oil.
They toss dry chicken into a dry basket and wonder why it comes out like shoe leather.
You don’t need much. A teaspoon or two of oil per pound of chicken is plenty. You’re not deep frying.
You’re just giving the surface a thin coat. The best way to do this is to put your chicken in a bowl, drizzle a small amount of oil over it, and toss with your hands until every piece has a light sheen. Avocado oil works great.
Olive oil works. Canola oil works. Any neutral oil with a smoke point above 400°F is fine.
If you’re using cooking spray, be careful. Many aerosol cooking sprays contain additives that can leave a sticky residue on your air fryer basket. That residue builds up over time and makes food stick.
If you use spray, apply it to the chicken, not the basket. Or better yet, use a pump sprayer with your own oil.
Now, the one exception. If you’re cooking breaded chicken, you might not need extra oil depending on your breading. But we’ll cover that later.
For plain chicken, oil is non-negotiable. Skip it and you get dry chicken. Every single time.
Step 3: Temperature and Time – The Most Common Mistake
This is where things go wrong more than anywhere else. People set their air fryer to 400°F because that’s the “fry” setting. They set the timer for 20 minutes because that’s what a recipe said.
And then they walk away.
Let’s talk about temperature first. Air fryer manufacturers stopped putting accurate temperature controls on budget models. Our research across dozens of models found that the temperature dial can be off by 25 to 50 degrees in either direction.
So when you set 400°F, your air fryer might actually be running at 375 or 425. That’s a huge swing.
The fix for temperature. Cook boneless chicken breast at 360 to 375°F. Not 400. Not 380. 360 to 375.
This lower temperature gives the inside time to cook through before the outside burns. Bone-in thighs can handle 380 to 400°F. But for breasts, keep it moderate.
The fix for time. Stop using time as your primary indicator. Use temperature. A digital instant read thermometer costs about 12 dollars.
It will save you hundreds of dollars in wasted chicken. Cook your chicken until the internal temperature hits 155 to 160°F, then pull it out. Let it rest for 5 minutes.
During resting, carryover cooking will raise the internal temperature another 5 to 10 degrees. It will end up at a safe 165°F without ever hitting that overcooked, dry state.
Here’s what typical cook times look like at 375°F for boneless skinless breast.
| Thickness | Approximate Time | Target Pull Temp |
|---|---|---|
| 1/2 inch (pounded thin) | 8 to 10 minutes | 155°F |
| 3/4 inch (average) | 12 to 14 minutes | 155°F |
| 1 inch (thick) | 15 to 18 minutes | 155°F |
These are estimates. Your air fryer may run hotter or cooler. Use the thermometer.
It is the single most important tool in your kitchen for solving this problem.
One more thing about time. Air fryers lose heat quickly when you open the basket. Every time you check the chicken, you drop the internal temperature by 50 to 100 degrees.
That extends the total cook time and dries things out further. Try to flip or shake the basket only once, about halfway through. Don’t open it every three minutes to poke at things.