Mastering How Long Do Chicken Tenders Take in the Air Fryer
You've got a bag of chicken tenders, you're starving, and the air fryer is sitting there staring back at you. The question on your mind is pretty simple: how long do chicken tenders take in the air fryer?
The short answer is 8 to 12 minutes at 400°F, depending on whether they're frozen or fresh. But the real secret isn't just time. It's internal temperature.
Per USDA guidelines, chicken needs to hit 165°F in the thickest part to be safe, and that's the number that matters more than any timer. Let's break down exactly how to get there without drying out your dinner.
Quick Answer
Cook frozen, pre-cooked tenders for 10 to 12 minutes at 400°F. Cook raw, breaded tenders for 10 to 12 minutes at 400°F. Cook raw, naked tenders for 8 to 10 minutes at 400°F.
Flip or shake halfway through. Always check that the internal temperature reaches 165°F. That's the USDA safety standard.
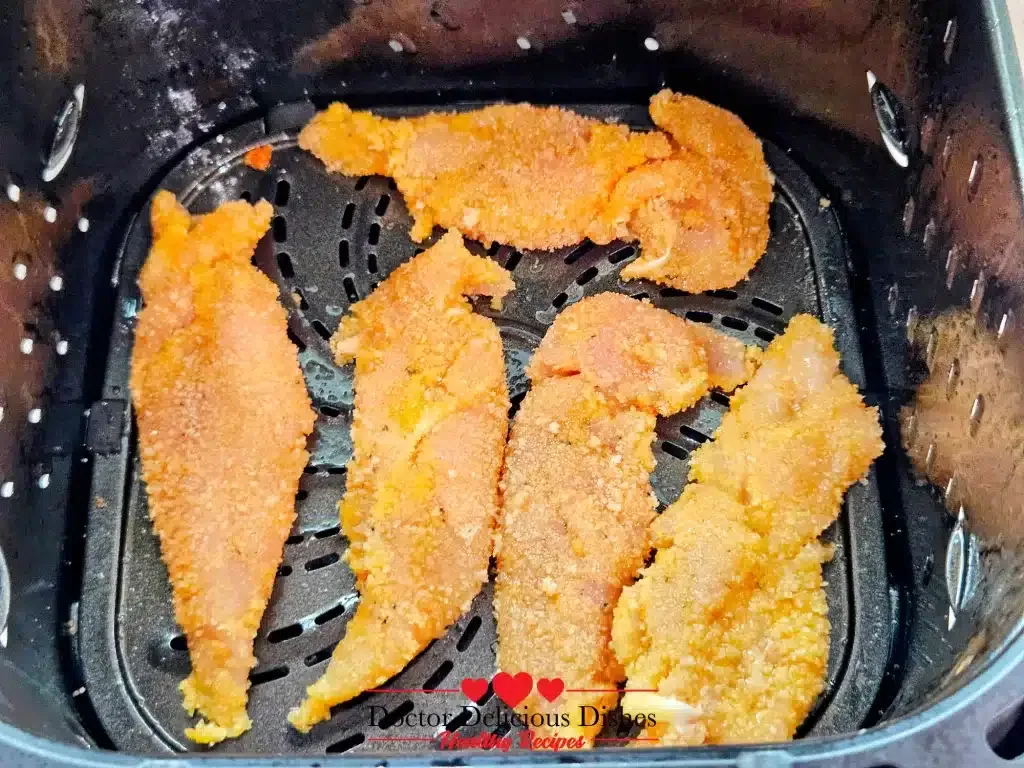
Image source: Bing (Web (fair-use with source credit))
The Golden Rule: Temperature Beats Time Every Time
Here's the thing about air fryers. They're small convection ovens with powerful fans that circulate hot air at high speed. That's why they crisp things up so fast.
But that same speed can work against you. One minute your tenders are perfect. Two minutes later, they're dry, chewy, and disappointing.
The fix is simple. Use a meat thermometer. It takes the guesswork completely out of the equation and guarantees you pull your chicken at the exact right moment.
Manufacturer specifications across popular air fryer brands consistently recommend 400°F for chicken tenders. That high heat is what gives you the crispy exterior without overcooking the inside. As of 2026, most modern air fryers have preheat functions built in, but even if yours doesn't, the temperature accuracy still holds.
Here's what you're aiming for:
- Safe internal temperature: 165°F in the thickest part of the tender
- Optimal cooking temperature: 400°F in the air fryer basket
- Ideal texture: golden brown and crispy on the outside, juicy on the inside
The thermometer is your safety net. It's also your quality control. If you pull the tenders at exactly 165°F, they'll be juicy and tender.
If you let them climb to 180°F or higher, they'll be dry before you even take a bite.
The 3 Conditions That Change Your Cooking Time
Not all chicken tenders are created equal. Your cook time shifts based on three main variables, and knowing which category your tenders fall into is half the battle.
1. Frozen vs. Fresh vs. Naked
This is the biggest factor. Frozen pre-cooked tenders just need reheating and crisping. Raw breaded tenders need to cook all the way through.
Raw naked tenders cook fastest because there's no breading to slow down heat transfer.
If your tenders are frozen and pre-cooked, you're really just warming them up and making the coating crunchy. That takes about 10 to 12 minutes at 400°F. No thawing needed, which is the whole beauty of air frying frozen food.
If your tenders are raw and breaded, they need more time to cook through. You're looking at 10 to 12 minutes as well, but those extra minutes are doing more work. The chicken itself needs to go from raw to fully cooked.
If your tenders are raw and naked, they cook even faster. Without breading, the heat penetrates more quickly. Expect 8 to 10 minutes at 400°F.
2. Air Fryer Style: Basket vs. Oven
Basket-style air fryers are the most common. They have a pull-out drawer with a perforated basket that lets air circulate from all sides. These cook faster and more evenly.
Oven-style air fryers look like small countertop ovens with wire racks. They have more capacity but can cook slightly slower because the air circulation isn't as focused. If you're using an oven-style model, add a minute or two to your total cook time and check doneness early.
3. Thickness and Size Variations
Not all tenders are the same size. Some are thick and meaty, like small chicken breasts. Others are thin and flat, closer to chicken strips.
Thicker tenders need more time. Thinner ones will cook faster.
Here's the practical rule of thumb. If your tenders are noticeably thicker than average, add 1 to 2 minutes. If they're thin, start checking them a minute early.
The thermometer is still your best friend regardless.
Decision Tree: Find Your Exact Cook Time
This is the part that makes everything click. Instead of guessing, match your situation to one of these three branches and follow the instructions exactly.
Branch 1: Frozen, Pre-Cooked Tenders
These are the classic bagged tenders from the freezer aisle. They're already fully cooked, so your job is to reheat them and make the coating crispy.
- Temperature: 400°F
- Time: 10 to 12 minutes
- Flip or shake: at the 6-minute mark
- Doneness check: internal temperature of 165°F, but mainly you're looking for a hot, crispy exterior
If you overcrowd the basket, you'll end up with steamy, soggy tenders. Work in batches if you need to. The extra few minutes are worth the texture payoff.
Branch 2: Raw, Breaded Tenders
These are fresh or thawed tenders with a breadcrumb coating. They need more attention because the chicken is starting from raw.
- Temperature: 400°F
- Time: 10 to 12 minutes
- Flip: at the 5 to 6-minute mark
- Doneness check: internal temperature of 165°F in the thickest tender
A light spritz of cooking spray on the outside helps the breading brown up evenly. You don't need much, just a quick mist.
Branch 3: Raw, Naked Tenders
These are plain chicken tenderloins with no coating. They won't crisp up like breaded tenders, but they'll develop a nice seared exterior.
- Temperature: 400°F
- Time: 8 to 10 minutes
- Flip: at the 4 to 5-minute mark
- Doneness check: internal temperature of 165°F
For extra flavor, toss them in a teaspoon of olive oil and some seasoning before cooking. Garlic powder, paprika, salt, and pepper make a solid basic blend.
Step-by-Step: The Perfect Air Fryer Tender Process
Let's walk through this from start to finish. Whether you're using frozen or fresh tenders, the process is the same. Only the timing changes.
Step 1: Preheat Your Air Fryer
Preheating matters more than most people think. It ensures the cooking chamber is already at 400°F when your chicken goes in, which means the outside starts crisping immediately instead of slowly heating up. If you're unsure whether your model needs preheating, our guide on whether to preheat or not covers the details clearly.
Most air fryers take 3 to 5 minutes to preheat. Some newer models have a built-in preheat button. If yours doesn't, just run it empty at 400°F for 3 minutes.
Step 2: Arrange Your Tenders in a Single Layer
This is non-negotiable. Overlapping tenders trap steam, and steam means soggy breading. Place your tenders in the basket with a little space between them.
If they don't fit, cook them in batches.
It's tempting to pile everything in to save time. Resist the urge. Soggy results are the number one complaint from air fryer owners, and overcrowding is almost always the cause.
Step 3: Set the Temperature and Time
Set your air fryer to 400°F and the timer based on your tender type. Use the decision tree above to pick the right starting time. Remember, the timer is just a guide.
The thermometer is the truth.
Step 4: Flip or Shake Halfway Through
At the halfway mark, flip each tender over with tongs, or give the basket a good shake if your tenders are small enough. This ensures even browning on both sides and prevents any hot spots from burning one side.
Step 5: Check the Internal Temperature
When the timer goes off, pull one tender out and check it. Insert the thermometer into the thickest part. You're looking for 165°F.
If it's below that, put the basket back in for another 1 to 2 minutes and check again.
Step 6: Rest and Serve
Let the tenders rest for 2 to 3 minutes before serving. This lets the juices redistribute throughout the meat, so every bite is moist and flavorful. Then serve them up hot and crispy.
A Quick Word on Cleaning
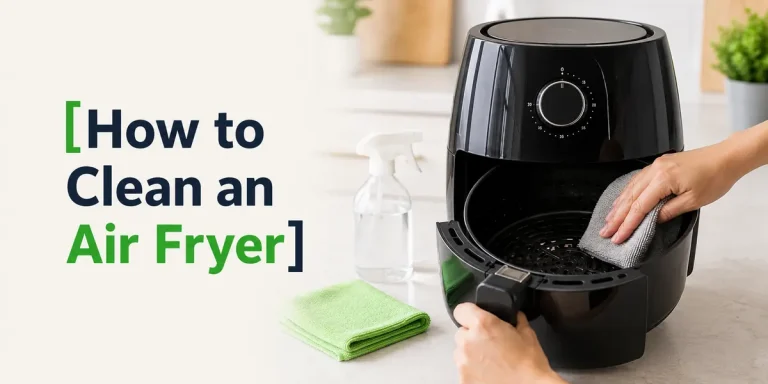
Air fryers collect grease and residue fast, especially when cooking breaded chicken. The leftover oil can burn onto the heating element and affect performance over time. Following a regular cleaning routine keeps your machine working properly and prevents smoky, unpleasant smells during future cooks.