What Is How Do You Clean the Inside of an Air Fryer
The short answer to how do you clean the inside of an air fryer is: unplug it, wipe the basket after every batch, and scrub the interior chamber every couple of weeks. Most of us only think about cleaning when the unit starts smoking mid-cook. By then, grease has baked onto the heating coil.
A solid daily routine takes less than five minutes.
Manufacturer specs consistently show that non-stick coatings, ceramic or PTFE-based, last two to three times longer with warm soapy water than with abrasive scrubbers. UL, which certifies consumer appliance safety, flags grease buildup on heating elements as a common fire risk in small appliances. We'll walk you through the exact decision tree so you know when a quick wipe is enough and when a deep clean is mandatory.
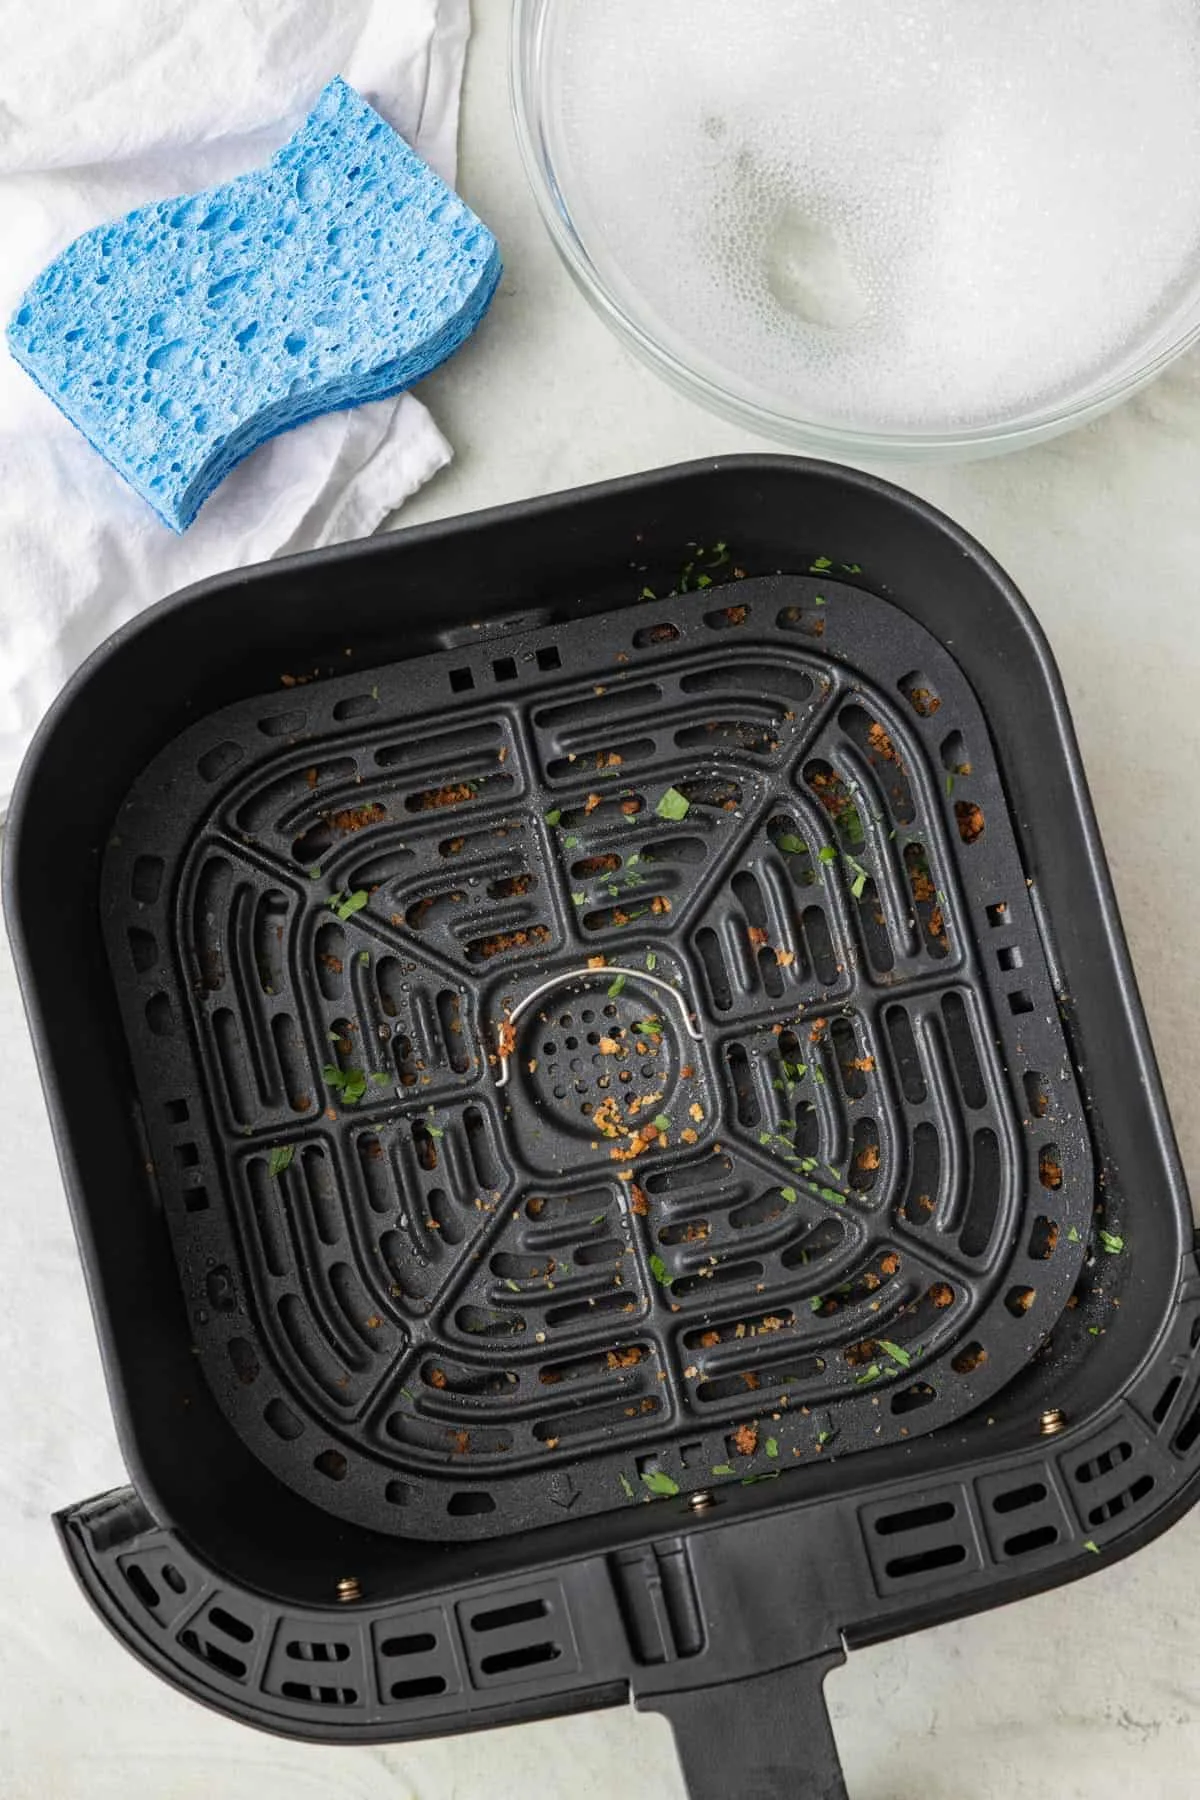
Image source: Web (Bing) / yourmodernliving.com (Web image (fair-use with source credit))
Quick Answer: Your 5-Minute Daily Clean
Wipe the basket and tray with warm soapy water. Rinse and dry completely. Wipe the interior walls and heating coil with a damp cloth.
Run the air fryer empty for 3 minutes to burn off residue. Do this after every few uses. Deep cleaning monthly keeps smoke and odors away.
Why the Inside Gets So Grimy (and Why It Matters)
Air fryers are basically small convection ovens with a fan directly above the heating element. That fan moves hot air at high speed, which is great for crisp food. It also splatters oil and moisture onto every surface inside the chamber.
Here's what happens in a typical cook: you spray or brush oil onto food, the hot air circulates, and droplets of oil ride the airflow. Some land on the basket. Some hit the interior walls.
And a surprising amount settles on the heating coil itself.
Once oil touches that coil, it bakes on fast. At temperatures between 180°C and 200°C (that's 350°F to 400°F for most recipes), oil polymerizes. That's the same chemical process that seasons a cast-iron skillet, except here it creates a sticky, dark crust that's miserable to remove later.
Skip cleaning for a week and you'll notice the symptoms. The air fryer smokes during preheat. Food picks up a stale, burned flavor.
And the fan starts to whistle because grease has narrowed the airflow path.
Aggregate reviews and user reports show that most people ignore cleaning until they hit one of those warning signs. The fix is recognizing that the inside of an air fryer is a two-part problem: the removable pieces you can soak, and the fixed chamber you have to wipe while it's in place. Getting this distinction right determines whether cleaning takes you five minutes or forty.
There's also a food safety angle. USDA guidelines on kitchen appliance hygiene stress that lingering grease and food residue can harbor bacteria. It's not just about taste, this is a legitimate reason to keep the routine consistent.
If you've ever wondered about how frequently to clean, the short version is: light wipe every few uses, deep clean monthly.
Before You Start: Know Your Air Fryer Type
Not all air fryers clean the same way. The method that works for a basket-style model could damage an oven-style unit. So before you grab your sponge, identify what you're working with.
Basket-style air fryers are the most common. They have a removable basket and a drip tray that slides out. The heating element sits at the top, behind or above the fan.
You can lift out most of the messy parts and soak them in the sink.
Oven-style air fryers look like countertop toaster ovens. They have a fixed interior cavity with wire racks. The heating elements are exposed and mounted to the ceiling.
You can't remove the walls, so cleaning means wiping the chamber while it's inside the unit.
The coating matters too. Here's a quick breakdown of what you're likely dealing with:
| Coating | What it means | Cleaning rule |
|---|---|---|
| PTFE (Teflon) | Slick, non-stick, sensitive to scratches | Soft sponge only, no metal tools |
| Ceramic | Non-stick with higher heat tolerance | Gentle hand wash, avoid baking soda scrubbing |
| Stainless steel | No coating, durable, shows fingerprints | Fine with mild abrasives, must dry fully |
| Bare aluminum | Not common, can react with acidic foods | Gentle wash, dry immediately |
Check your manual before starting. Most manufacturers specify whether the basket is dishwasher-safe. We've covered whether your basket is dishwasher-safe in detail separately, but the short version is: if the coating is PTFE, a dishwasher's harsh detergent often degrades it faster than hand washing does.
Also, take a close look at the heating element. If it's exposed, you'll need to clean it carefully without drenching it. The care instructions for the element are specific, and getting them wrong can cause electrical problems.
The Decision Tree: How Dirty Is It, Really?
Here's where the "simple question, complicated answer" part kicks in. The right cleaning method depends entirely on how dirty the air fryer is. Use this decision tree to pick your path.
Branch 1: Light dusting of grease
Your basket feels slightly slick, but there's no visible stuck-on food. You don't smell anything when it heats up.
Then you only need a warm soapy wipe. Fill the sink with warm water and a drop of dish soap. Wash the basket and tray, rinse, dry.
Wipe the interior walls and coil with a damp microfiber cloth. Done in under five minutes.
Branch 2: Stuck-on food that's still soft
Pieces of food are stuck to the basket, but they scrape off with your fingernail.
Soak the basket in hot soapy water for 10 to 15 minutes. The food loosens naturally. Then scrub gently with a non-scratch sponge.
Wipe the interior chamber with a damp cloth. No heavy chemicals needed.
Branch 3: Baked-on carbon and smoke
You see dark, crusty patches on the basket or interior walls. The air fryer smokes when you preheat it.
This is the deep clean scenario. We'll walk through the full workflow in the next section. It involves baking soda, vinegar, and a longer soak.
Branch 4: Grease on the heating coil specifically
You can see grease buildup directly on the element, often at the top of the unit.
You can't soak this part, and you can't scrub it hard. The element is delicate and electrical. Use a damp cloth or a soft brush to gently dab at the grease.
Never run water directly onto it. If you need a full breakdown, we have a dedicated guide on tackling stubborn buildup in the interior. The same principles apply.
Here's a quick reference table for the whole decision tree:
| Situation | What to do | Time needed |
|---|---|---|
| Light grease slick | Soapy water wipe | 5 minutes |
| Soft stuck-on food | 15-minute soak | 20 minutes |
| Baked-on carbon | Baking soda paste | 45 minutes |
| Coil buildup | Damp cloth, no soaking | 10 minutes |
One important note: if you're dealing with baked-on carbon, don't reach for oven cleaner. Standard oven cleaners contain strong caustic chemicals that can damage non-stick coatings and leave residue that burns later. Stick to the food-safe methods below.
Step-by-Step: The Deep Clean Workflow
This is the process for Branch 3, the baked-on carbon scenario. It takes about 45 minutes. Most of that is soaking time while you do other things.
Phase 1: Unplug, cool down, and disassemble
Unplug the air fryer first. That's non-negotiable. Water and electricity don't mix, and the unit can hold residual charge even after it's off.
Wait at least 30 minutes for the interior to cool completely. Hot metal warps when you dunk it in cold water. Removing the basket and drip tray while they're hot also risks burns.
Pull out every removable part. Basket, drip tray, and any silicone liner if you use one.
Phase 2: Soak the basket and tray
Fill your sink with hot water. Add a squirt of dish soap and a splash of white vinegar. The vinegar cuts grease and neutralizes odors.
Submerge the basket and tray. Let them soak for 30 minutes. That's enough time to loosen most carbonized food without any scrubbing.
If you have stubborn spots after the soak, make a paste from 3 parts baking soda and 1 part water. Apply it to the spots, wait 10 minutes, then scrub gently with a non-scratch sponge. The paste breaks down the carbon without scratching the non-stick coating.
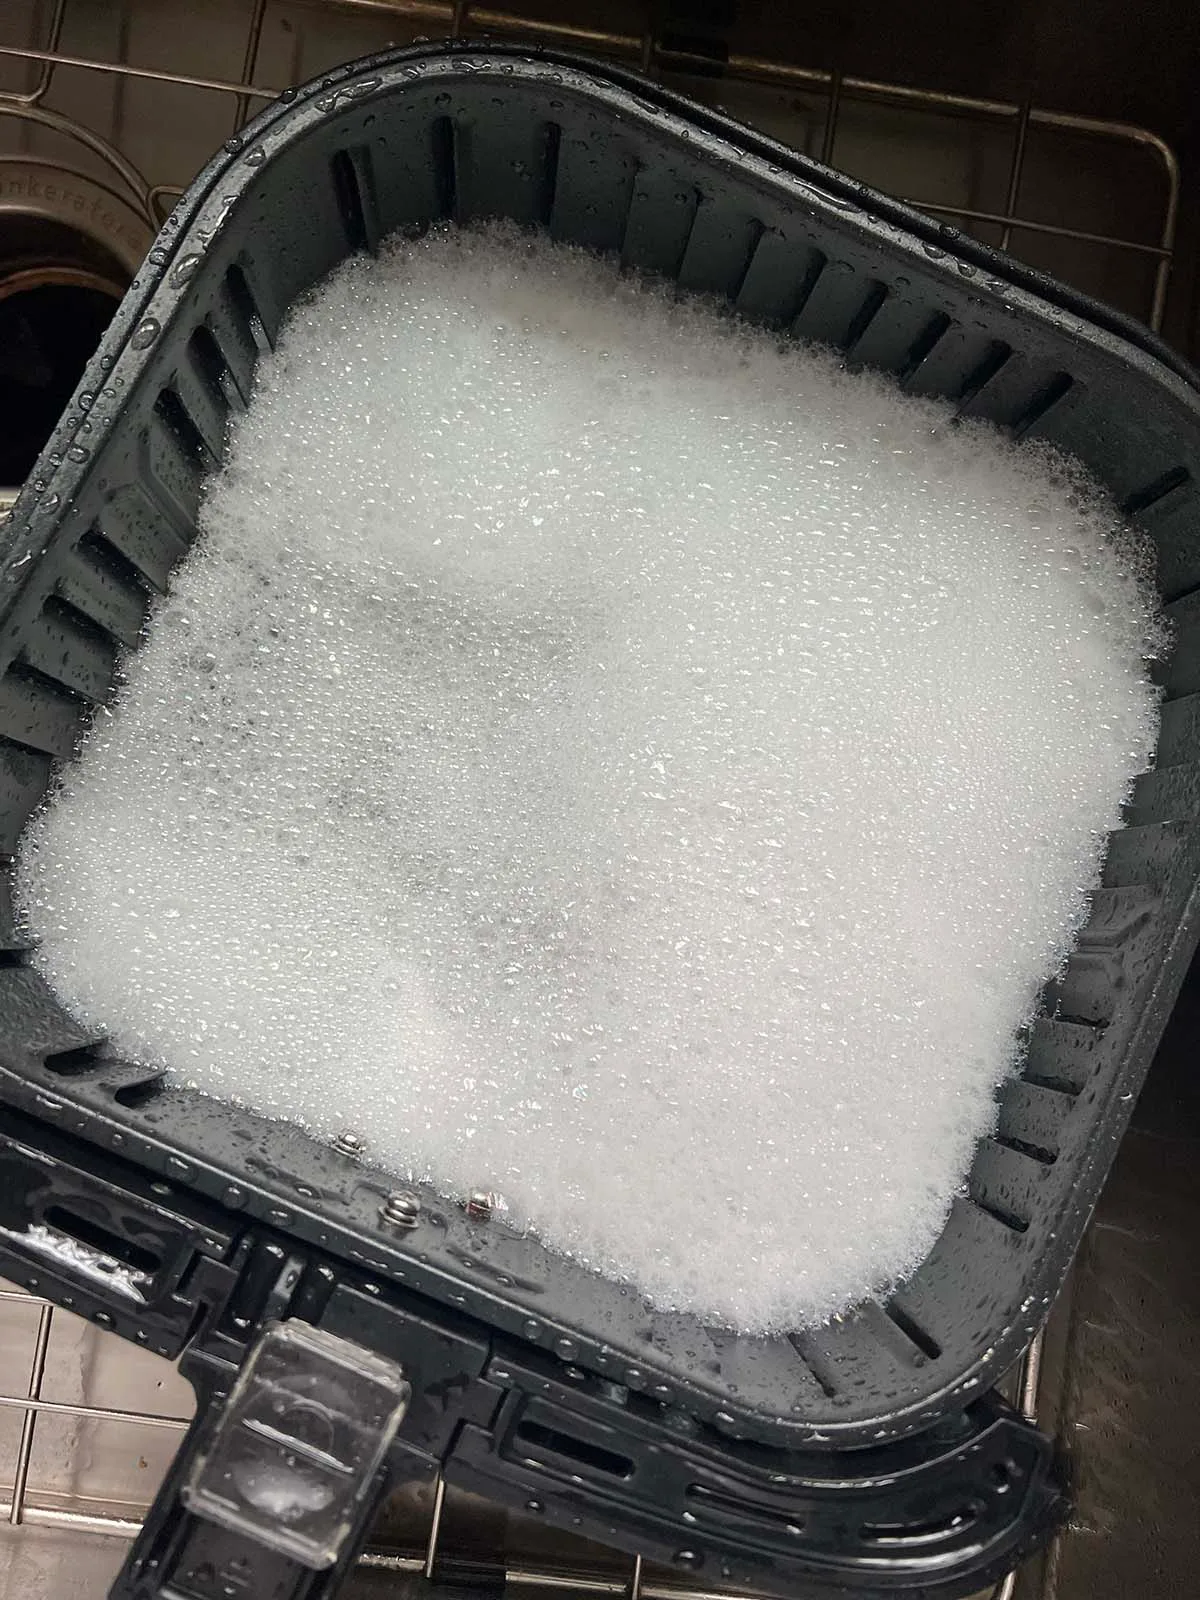
Image source: Web (Bing) / foodbanjo.com (Web image (fair-use with source credit))
Phase 3: Clean the interior chamber and coil
This is the part most guides skip. The interior walls and heating element can't go in the sink.
Use a damp microfiber cloth, not a dripping wet one. Wipe down the interior walls to remove loose grease. For baked-on residue on the chamber walls, dip the cloth in a warm baking soda solution and use gentle circular motions.
For the heating coil, switch to a soft-bristle brush or a silicone brush. Dab, don't scrub. You want to loosen the grease, not bend the delicate element.
If the coil is heavily caked, you can use the steam method: place a small bowl of water in the basket, run the air fryer empty at 180°C for 5 minutes, then wipe the softened grease after it cools.
Phase 4: Rinse, dry, and burn off
Rinse the basket and tray thoroughly with clean water. Dish soap residue left behind will burn and smoke on the next use.
Dry every part completely. Air-dry on a dish rack for 45 to 60 minutes if you have time. Water trapped in the crevices can rust metal components or grow mold in humid environments.
Once everything is dry, reassemble the air fryer. Plug it in and run it empty at 200°C for 3 to 5 minutes. This burns off any remaining microscopic residue and confirms there's no lingering soap smell.
You'll see a little smoke during this burn-off cycle. That's normal the first time, but if it continues, you missed a spot.