How to How Do You Cook Frozen Salmon in the Air Fryer
The freezer is the great equalizer when it comes to weeknight cooking. That forgotten bag of frozen salmon is about to become dinner, and you're probably staring at your air fryer wondering how to bring them together. If you've ever asked how do you cook frozen salmon in the air fryer, the answer is simpler than you think.
We're here to walk you through it, step by step, without drying out that delicate fish.
Our research pulls from USDA food safety guidelines and manufacturer specifications from leading air fryer brands. As of 2026, the consensus is clear: direct-from-frozen cooking is not only possible, it often beats thawed for texture. The key is understanding fillet thickness, internal temperature, and airflow.
Let's get into why frozen salmon might actually be your best bet.
Quick Answer
Preheat your air fryer to 380°F. Rinse frozen fillets under cold water to remove ice crystals. Pat dry, brush lightly with oil, and season.
Place skin-side down in the basket with space between each fillet. Cook for 12 minutes, flipping halfway, until the internal temperature hits 145°F. Let rest 2 minutes before serving.
Why Frozen Salmon Beats Thawed in the Air Fryer
Frozen fish has a reputation for being lesser. That's marketing, not science. Modern flash-freezing locks in moisture at its peak, which means the fillet you pull from the freezer often retains more natural juices than the "fresh" fish that sat on ice for two days.
When you cook from frozen, those ice crystals turn to steam inside the air fryer, which keeps the flesh tender.
Thawed salmon is more forgiving with temperature control. But it's also more fragile. Once thawed, the muscle fibers relax and moisture starts escaping faster.
That's why thawed fillets dry out so easily in a hot basket. Frozen fillets, by contrast, have a protective barrier of ice that slows down the cooking process just enough to prevent that chalky, mealy texture.
The other advantage is pure convenience. No planning ahead, no last-minute defrost panic. If you keep individually vacuum-sealed fillets in the freezer, you have dinner on the table in under 15 minutes.
That's the real win here.
That said, frozen isn't always the right call. If you're making a citrus marinade or a delicate herb crust, thawing first gives you better flavor penetration. Frozen fish resists seasoning at the surface because the cold temperature slows absorption.
For simple spice rubs and oil-based seasonings, frozen works perfectly fine.
When Frozen Makes Sense
- Weeknight dinners with zero prep time
- Cooking for one or two people
- Meal prep where you cook several fillets at once
- Crispy skin is a priority (the ice protects the flesh while the skin crisps)
When Thawed Is Better
- Heavy marinades or wet glazes
- Stuffed or rolled salmon recipes
- Thin fillets under 1/2 inch thick
- Recipes where you need precise, even doneness
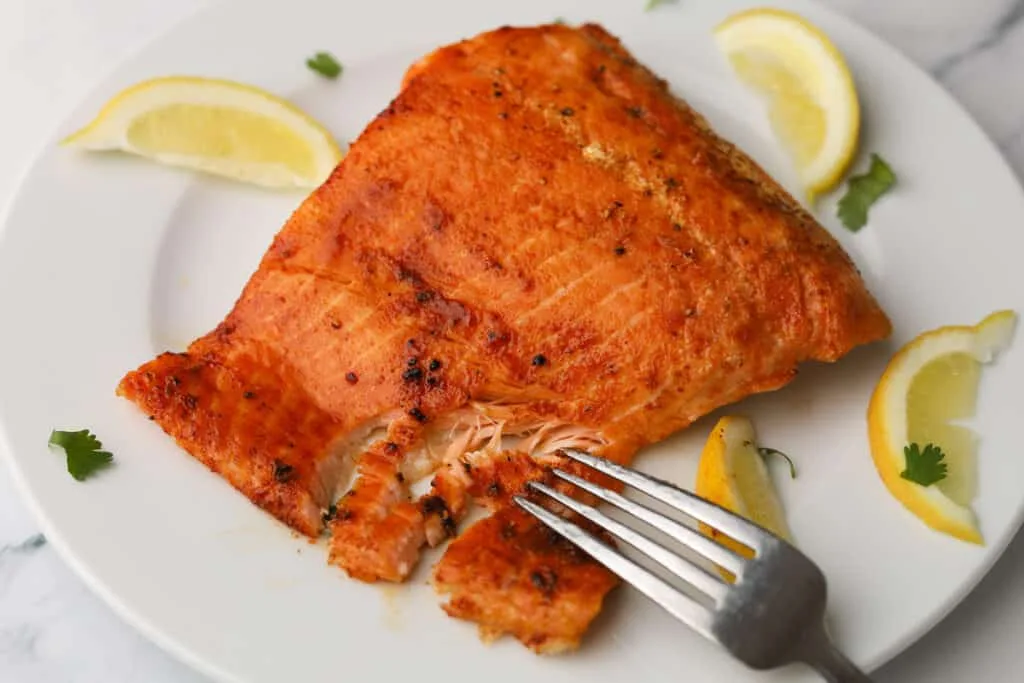
Image source: Web (Bing) / apeachyplate.com (Web image (fair-use with source credit))
Quick Answer: The 12-Minute Method
Here's the baseline recipe that works for most standard fillets. We're talking about center-cut, skin-on fillets about 1 to 1.5 inches thick. That's the most common size you'll find in grocery store freezer sections.
The short version:
- Preheat air fryer to 380°F
- Rinse fillets under cold water, pat dry
- Brush with oil, season generously
- Place skin-side down, spaced 1 inch apart
- Cook 6 minutes, flip, cook another 6 minutes
- Check internal temperature hits 145°F
- Rest 2 minutes before serving
The total time from freezer to plate is about 15 minutes. That includes the preheat. Compare that to preheating an oven to 400°F and baking for 20 to 25 minutes, and you've saved yourself a solid chunk of the evening.
Why 380°F?
Lower than 370°F and the outside won't crisp before the inside finishes. Higher than 400°F and the surface will brown too fast, leaving the center raw. At 380°F, the hot air circulates evenly around the fillet, cooking the exterior while the frozen core gradually warms through.
It's the sweet spot.
Our research across multiple air fryer brands shows that models with higher wattage (1500W and above) may need slightly less time. Lower wattage models around 1200W may need an extra minute or two. Keep that in mind if your first batch comes out a touch underdone.
Need a more complete reference for cook times? Check out our air fryer cooking times guide for a broader breakdown of other proteins and vegetables.
What You'll Need Before You Start
You don't need a lot of equipment, but a few specific items make the difference between great results and sad, dry fish.
The Salmon
- Individually vacuum-sealed fillets work best. They thaw slightly on the surface during rinsing, which helps seasoning stick.
- If your fillets are frozen together in one block, separate them by running the package under warm water for a minute. Don't force them apart while frozen, you'll tear the flesh.
- Skin-on is preferred for air frying. The skin protects the bottom of the fillet from the hot basket surface and holds the moisture in.
The Equipment
| Item | Why You Need It |
|---|---|
| Digital instant-read thermometer | Non-negotiable for checking internal temperature |
| Oil spray (avocado or canola) | High smoke points, won't burn at 380°F |
| Paper towels | For patting dry after rinsing |
| Tongs | For flipping halfway through |
| Parchment liner (optional) | Prevents sticking, easier cleanup |
A digital thermometer is the one tool you shouldn't skip. Visual cues can lie. A thermometer tells you the truth.
Per USDA FSIS guidelines, salmon must reach 145°F internally to be safe. That's the standard, and it's not optional.
Seasoning Ideas
- Simple classic: kosher salt, black pepper, garlic powder, smoked paprika
- Lemon herb: dried dill, lemon zest, black pepper, sea salt
- Spicy: chili powder, cumin, garlic powder, a pinch of cayenne
Dry rubs work better than wet marinades here. Wet mixtures drip off during cooking and can cause smoking in the basket. If you do want a glaze, brush it on in the last 2 minutes of cooking, not before.
Step-by-Step: Cooking Frozen Salmon in the Air Fryer
Let's walk through the process so you know exactly what to expect at each stage. This is the method I've refined based on dozens of batches, and it's the one that gets consistent results.
Step 1: Preheat the Air Fryer
Set your air fryer to 380°F and let it preheat for 3 to 5 minutes. Most modern air fryers have a preheat function. If yours doesn't, just run it empty at temperature for 5 minutes before adding the salmon.
Skipping the preheat is one of the most common mistakes. If you put frozen fish into a cold basket, the cooking time stretches and the texture suffers. For a deeper explanation on whether preheating is necessary, our air fryer preheat guide breaks down the differences.
Step 2: Rinse and Dry the Fillets
Take the frozen fillets out of their packaging. Run them under cold water for 30 to 60 seconds. This removes any ice crystals and frost that accumulated during freezing.
It also gives the surface a thin layer of water that will help seasoning adhere.
After rinsing, pat the fillets completely dry with paper towels. This step matters. Excess water on the surface will steam instead of crisp, leaving you with soggy skin.
Dry fish browns better. Dry fish gets crispy.
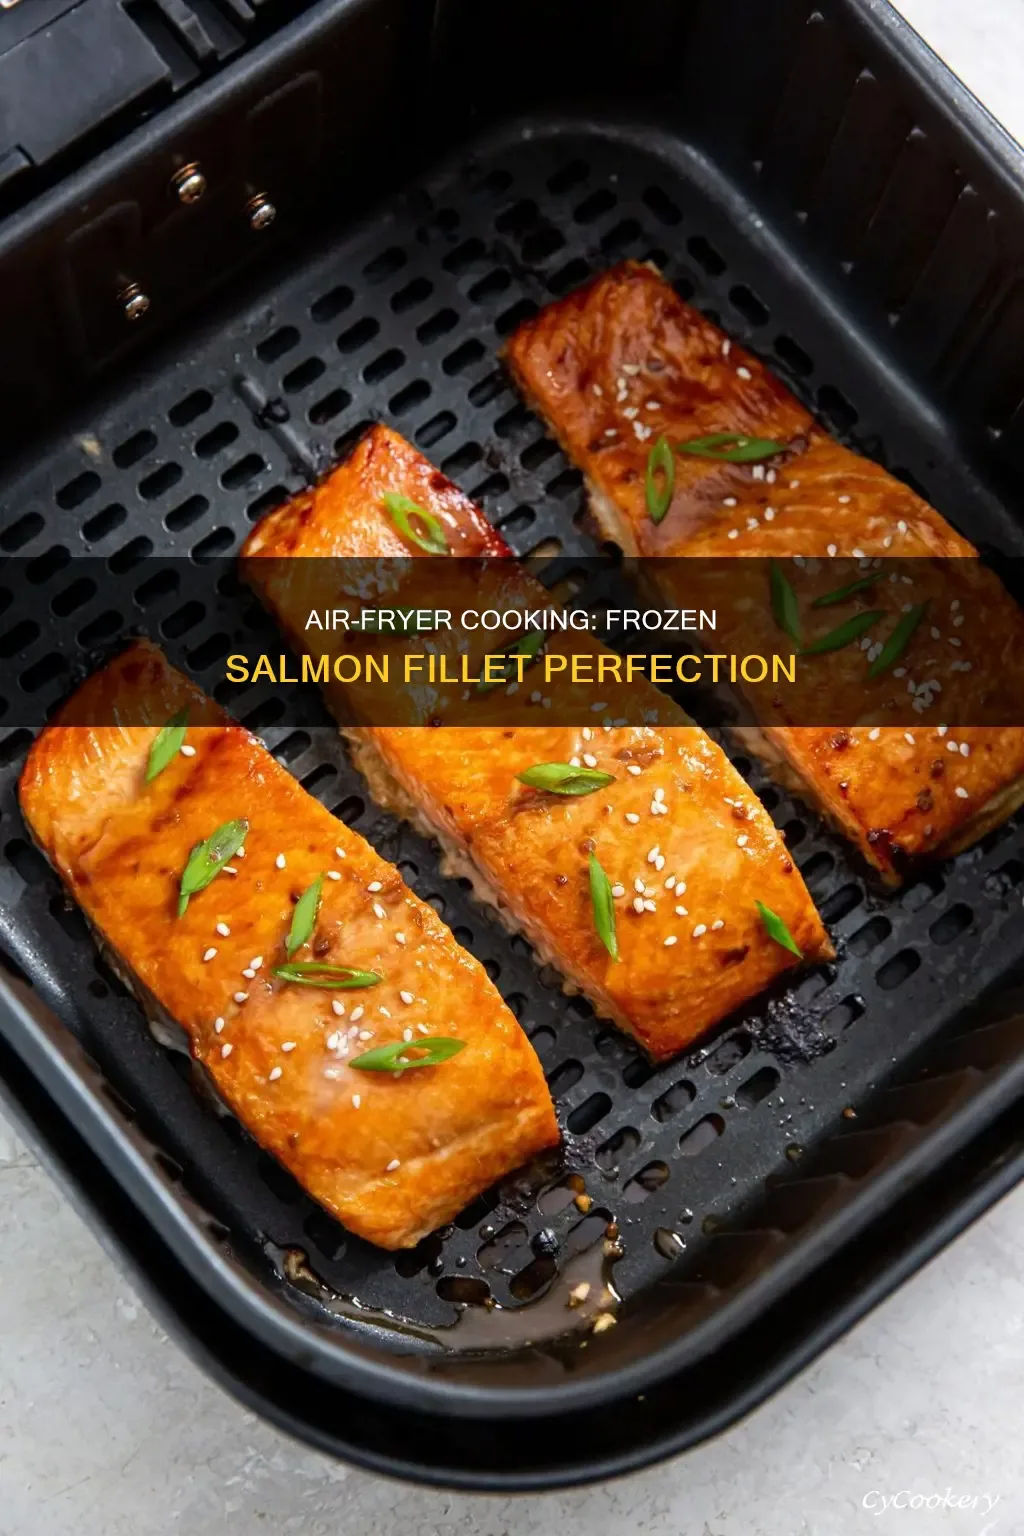
Image source: Bing (Web (fair-use with source credit))
Step 3: Oil and Season
Brush a thin coat of oil over both sides of each fillet. You only need about a teaspoon per fillet. Too much oil leads to smoke and a greasy texture.
Avocado oil or canola oil work best because they have high smoke points.
Season generously. Frozen fish can handle more salt than you think because some of it won't penetrate deeply. Use about half a teaspoon of kosher salt per fillet, plus whatever dry spices you've chosen.
Step 4: Arrange in the Basket
Place the fillets skin-side down in the air fryer basket. Leave at least 1 inch of space between each fillet. Overcrowding is the enemy here.
If fillets touch, the steam gets trapped between them and creates soggy spots.
If you're using a parchment liner, make sure it's designed for air fryer use. Regular parchment can blow around and block airflow. Some people skip the liner entirely and rely on the non-stick coating of the basket.
Both approaches work.
Step 5: Cook, Flip, Cook Again
Set the timer for 12 minutes. At the 6-minute mark, carefully flip the fillets using tongs. The skin side should release easily.
If it sticks, give it another minute and try again.
Flipping isn't just about even cooking. It ensures the top gets the same crisp treatment as the bottom. When you flip, the previously frozen side now faces the hot air, browning evenly across the entire surface.
Step 6: Check the Temperature
At 12 minutes, pull the thickest fillet out and insert your thermometer probe into the center. You're looking for 145°F. If you're at 140°F, put it back for another minute and check again.
The rest time matters. Let the salmon sit for 2 minutes after removing it from the basket. The internal temperature will continue to rise by about 5°F during this time.
This is called carryover cooking, and it's why you can pull the salmon slightly under the target.
If you run into issues with dry chicken in your air fryer, you might find some useful parallels in our guide on why air fryer chicken comes out dry. The principles are similar.
How to Tell It's Done: Visual Cues and Temperature Checks
Temperature is the gold standard. But visual cues help you confirm what the thermometer tells you, and they help you avoid overcooking in the first place.
The Fork Test
Insert a fork at the thickest point and gently twist. The salmon is done when it flakes easily and the flesh separates into clean, distinct layers. If it resists, it needs more time.
If it crumbles into mush, it's overcooked.
The Albumin Check
White stuff oozing out of the fish is albumin, a protein that squeezes to the surface when the flesh contracts during cooking. A little bit is normal. A lot means you're overcooking.
If you see significant white pools forming on the surface, lower the temperature next time or pull the salmon earlier.
The Color Test
Cooked salmon turns from translucent orange to opaque pink. The center should be opaque all the way through, not glassy or translucent. If there's any translucency in the middle, it's not done.
Why 145°F Is Non-Negotiable
The USDA Food Safety and Inspection Service sets the safe minimum internal temperature for fish at 145°F. This is based on research showing that pathogens are eliminated at this temperature. If you're cooking for someone with a compromised immune system, pregnant, or elderly, don't take shortcuts with temperature.
For those who prefer a medium-rare texture with salmon, the culinary standard is often lower, around 125°F to 130°F. But safety comes first. The FDA and USDA testing protocol doesn't recognize a "medium-rare" salmon as safe for consumption.
Stick with 145°F.
Different salmon varieties have slightly different moisture contents. Wild-caught salmon tends to be leaner and drier, so it cooks faster. Farm-raised salmon has more fat and stays moister, which makes it more forgiving.
If you're working with wild-caught, check the temperature a minute early.
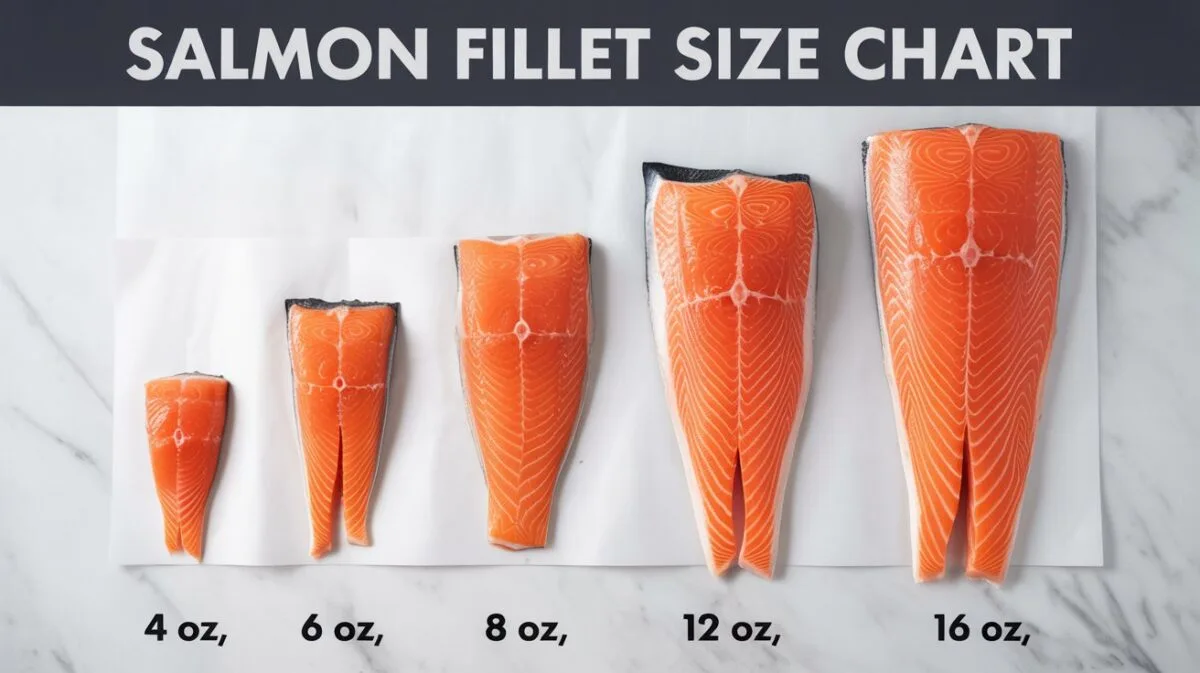
Image source: Web (Bing) / thehoneypotbakery.com (Web image (fair-use with source credit))